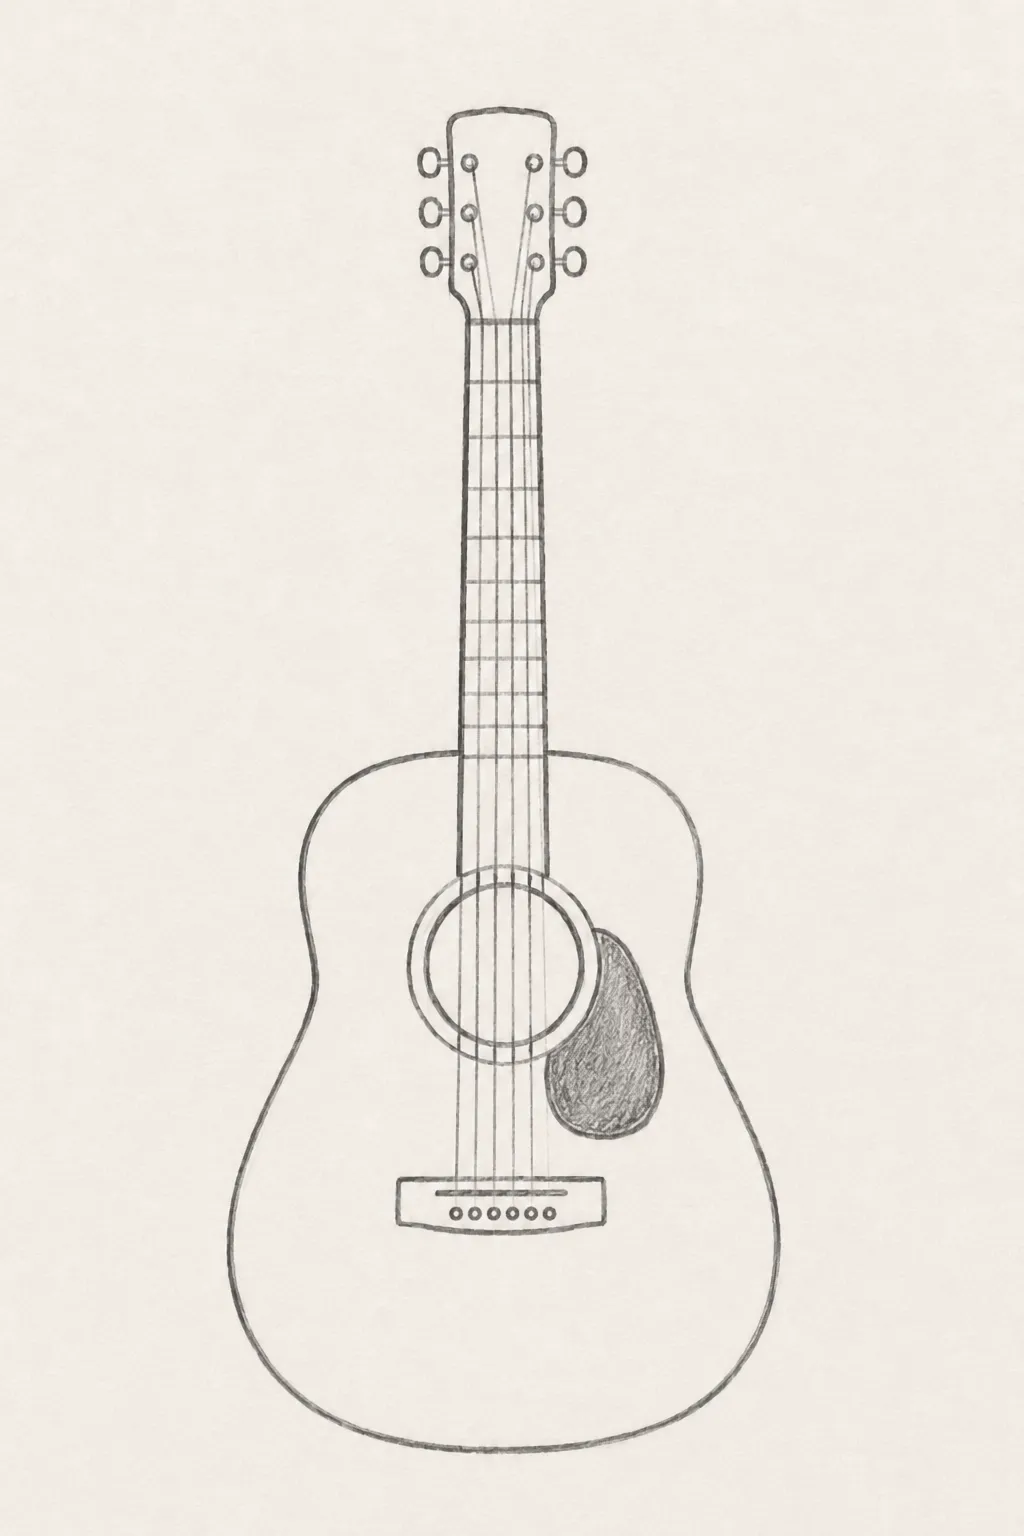
You do not need to be good at drawing to sketch a guitar. Start with a few simple shapes, follow the steps, and in about five minutes you’ll have your first guitar.
Step 1: Draw Your First Guitar
Let’s start with a simple guitar. Do not worry about making every line perfect. You can clean things up at the end.
1. Build the Basic Shape
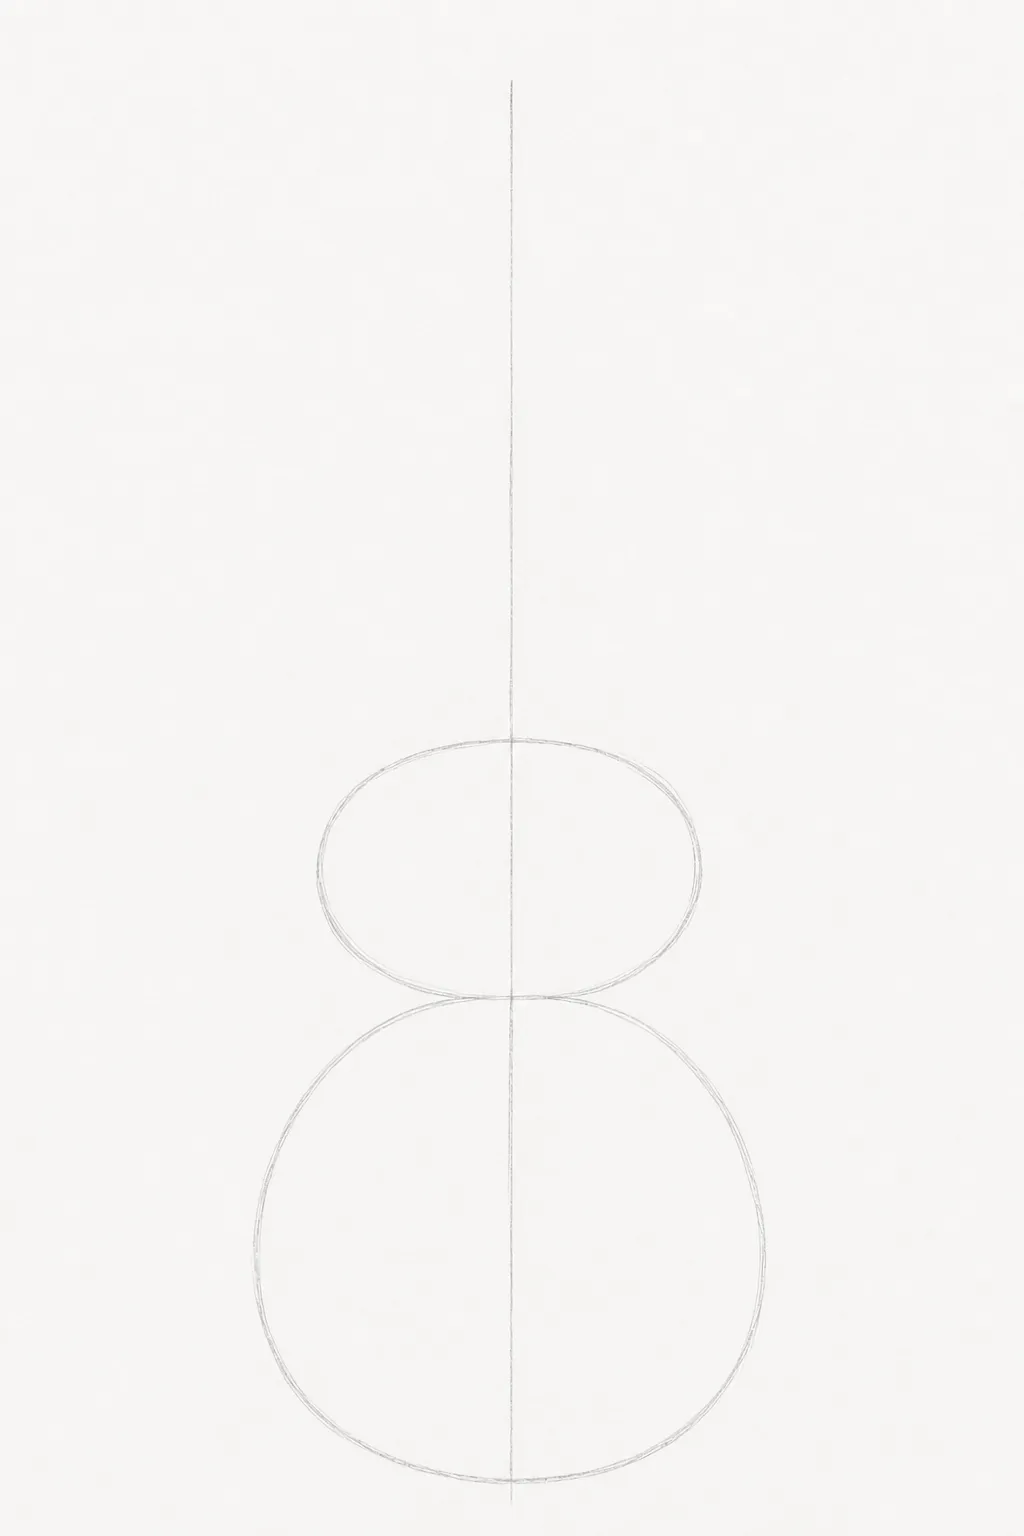
Draw a light vertical line down the center of the page. Then add a smaller oval for the upper part of the body and a larger oval below it.
Keep these lines light – they are only guides.
2. Draw the Guitar Body
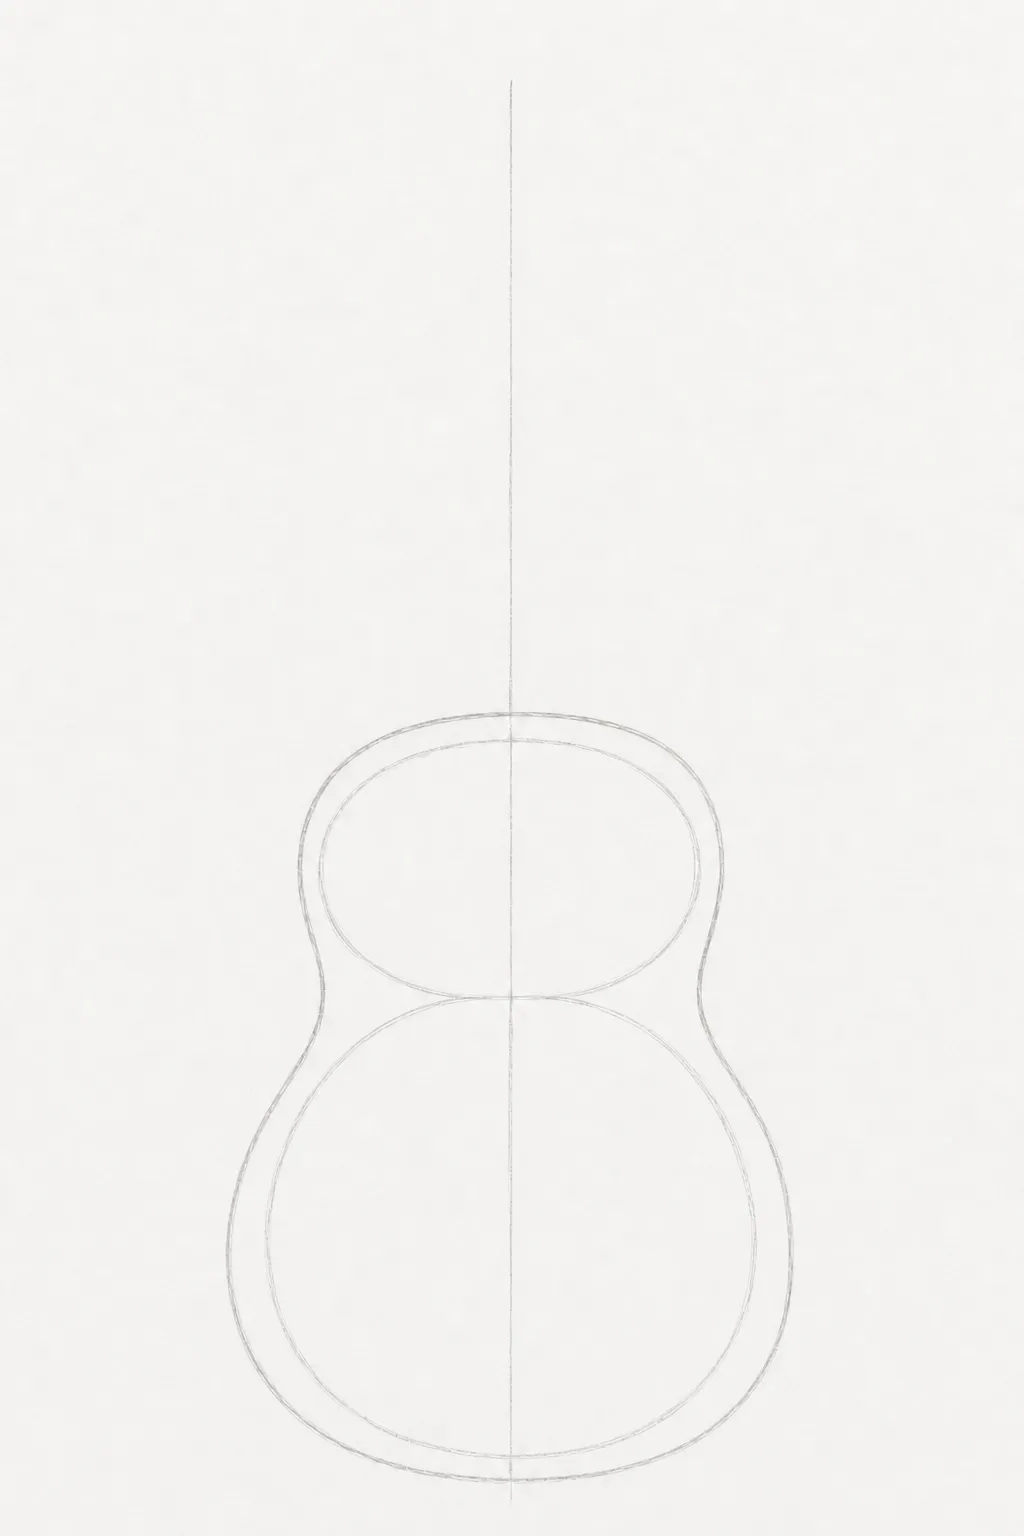
Use the two ovals as a guide and draw the outside shape of the guitar. Curve the sides inward where the two ovals meet to create the waist.
Leave the guide lines for now.
3. Add the Neck and Headstock
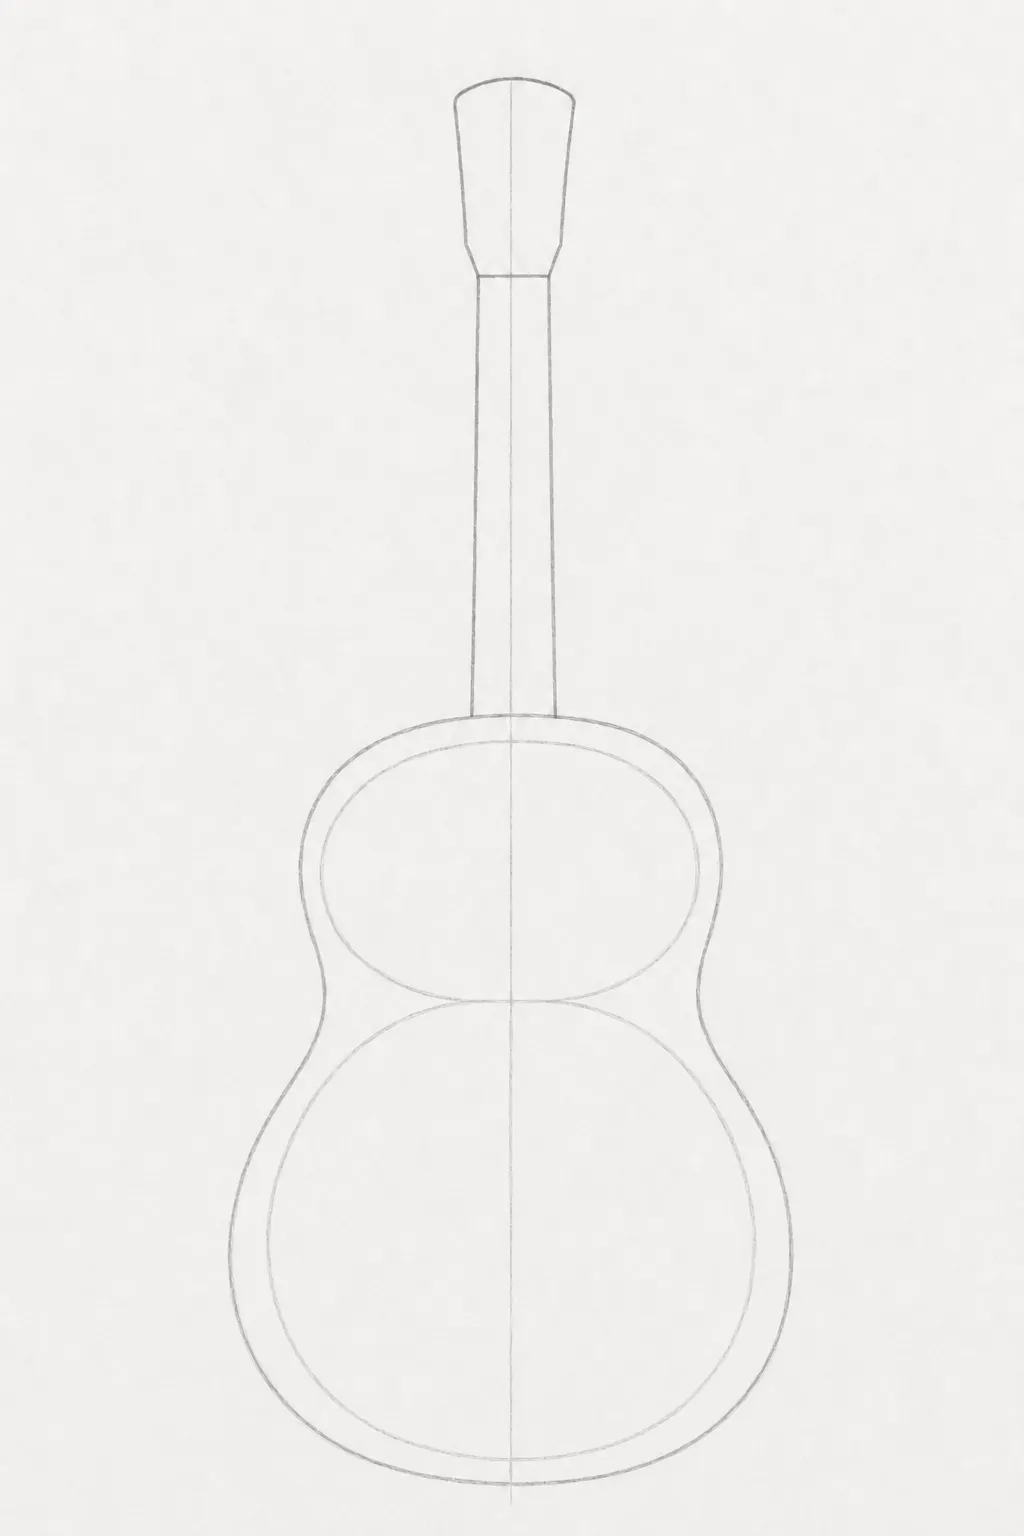
Draw two long lines upward from the top of the body to make the neck. Add a simple headstock at the top, slightly wider than the neck with a softly rounded edge.
Finish the neck with a few simple horizontal fret lines.
4. Add the Sound Hole and Bridge
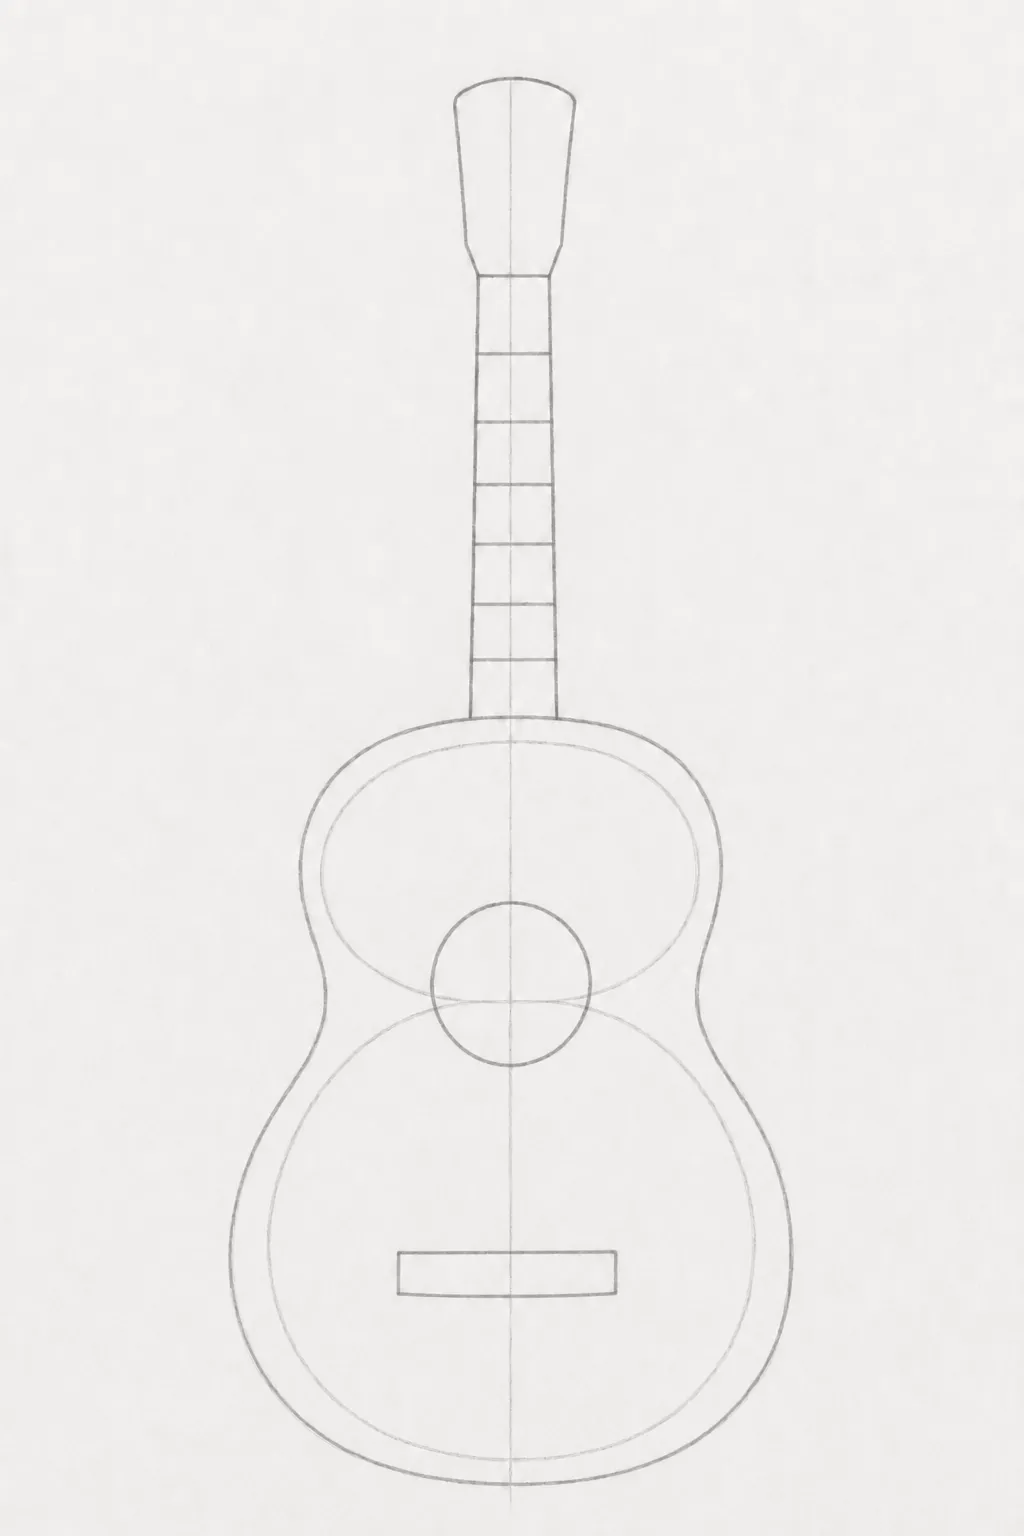
Draw one circle in the center of the body for the sound hole.
Below it, add a small simple rectangle for the bridge.
5. Add the Final Details
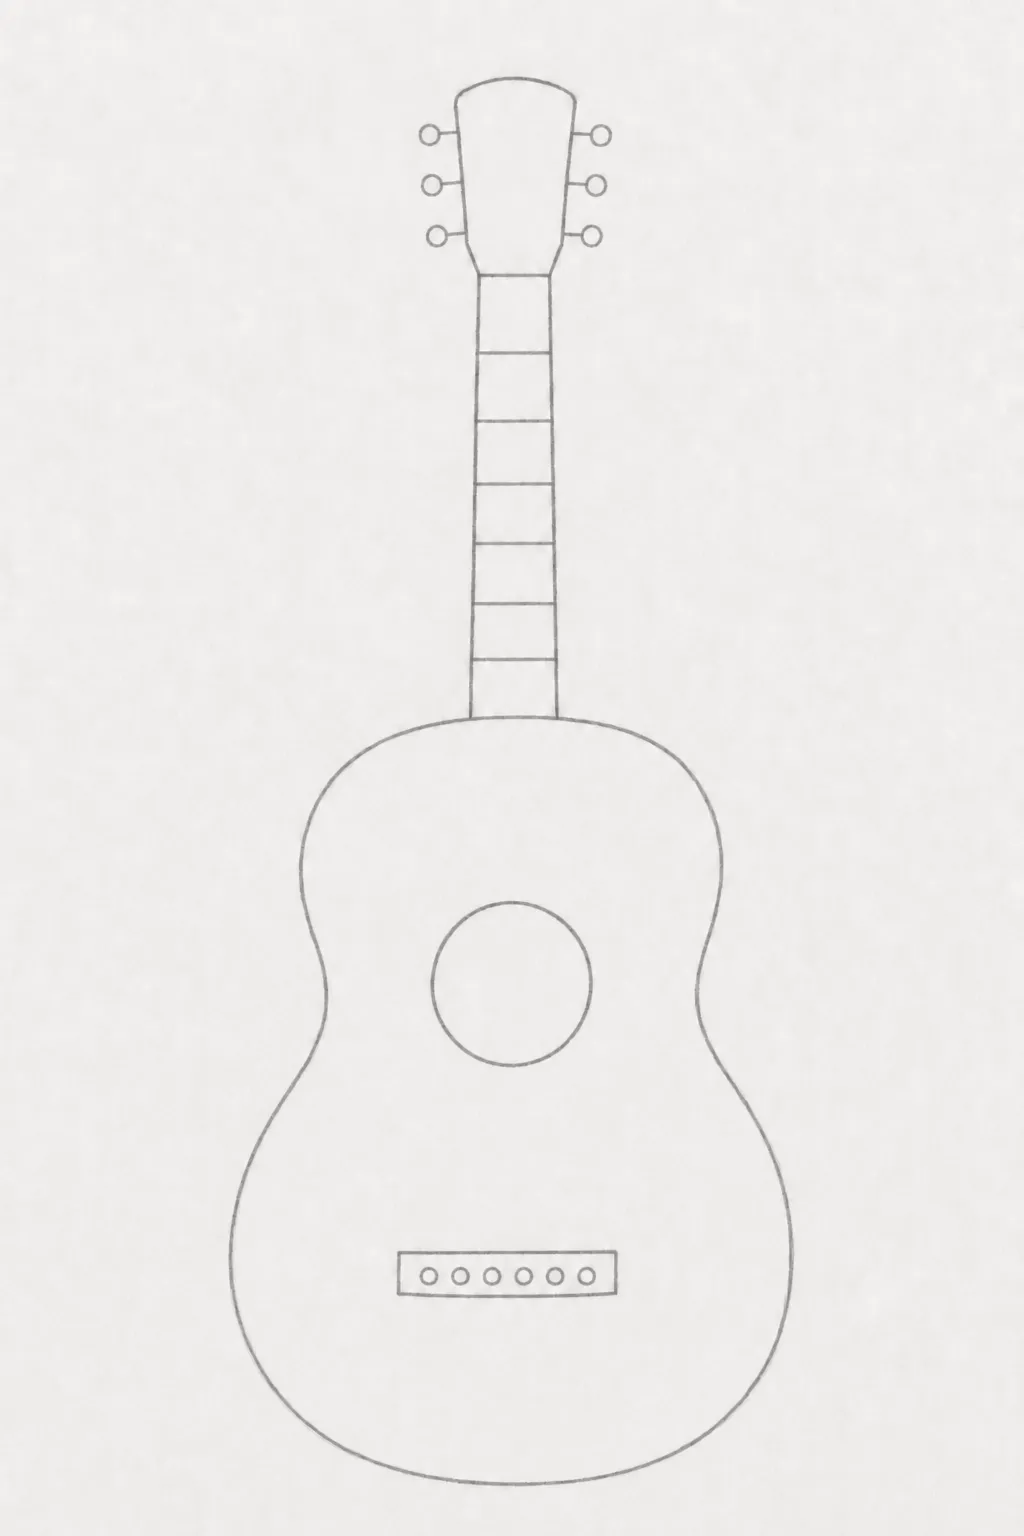
Add six tuning pegs to the headstock – three on each side. Keep them simple: one short line and a small circle.
Draw six small circles close together on the bridge. Finally, erase the vertical line, the two large guide ovals, and any other construction lines.
The guitar is done.
6. Draw Your First Guitar on Your Own
Now put the tutorial aside and try one yourself. Pick one of the simple guitars below and try to copy it.
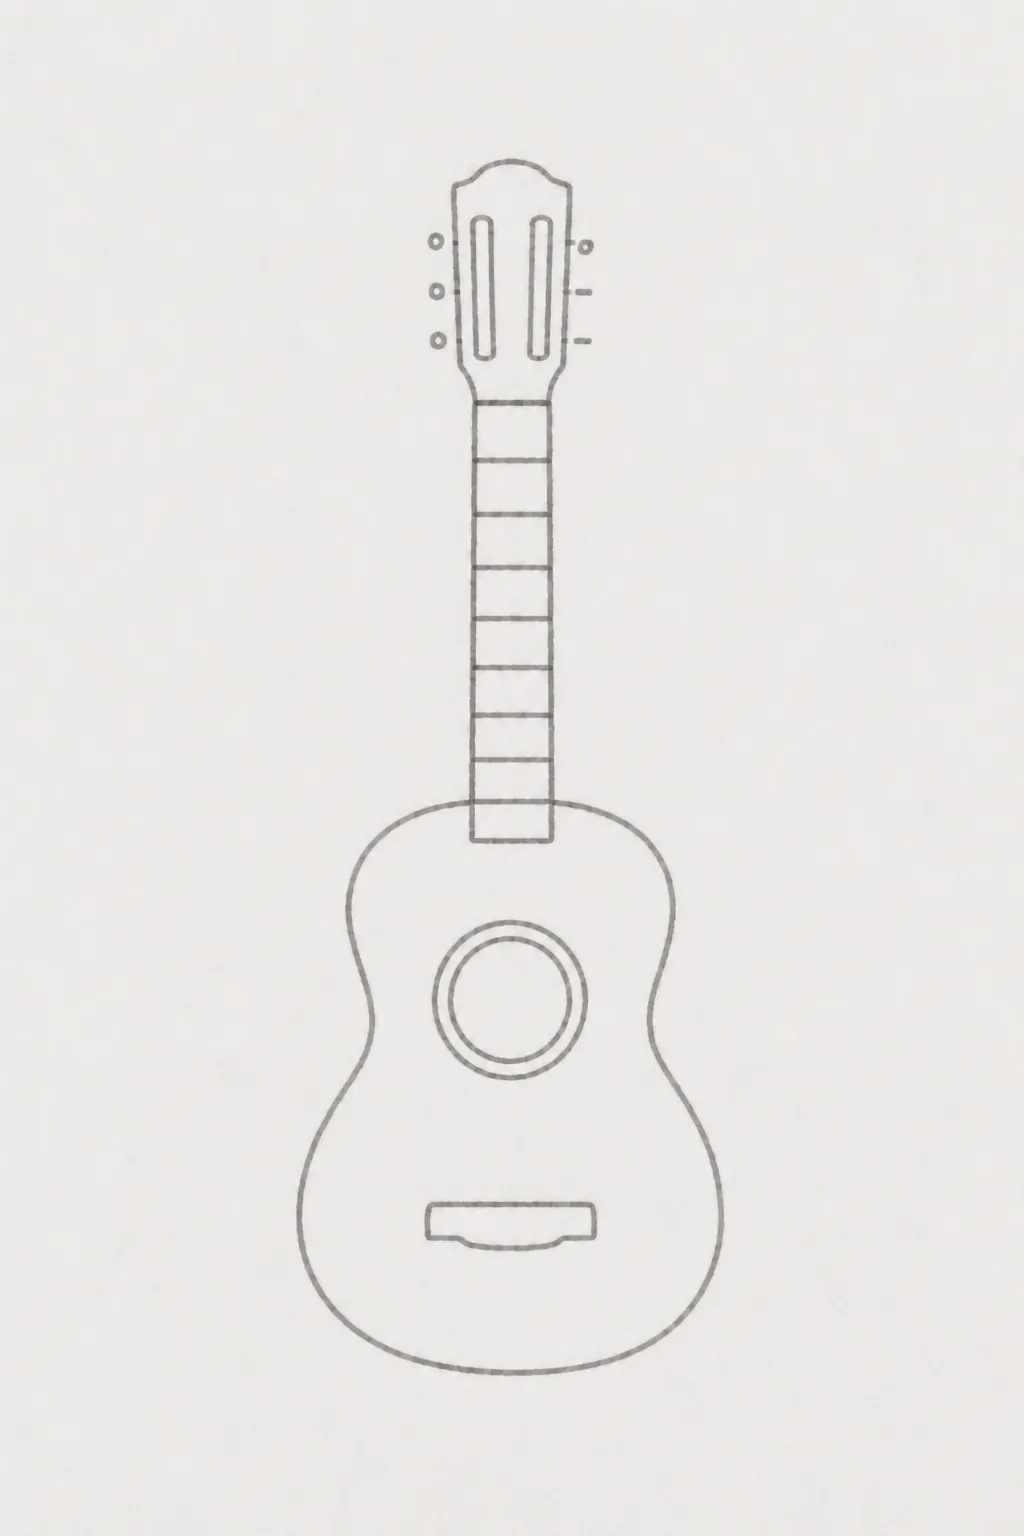
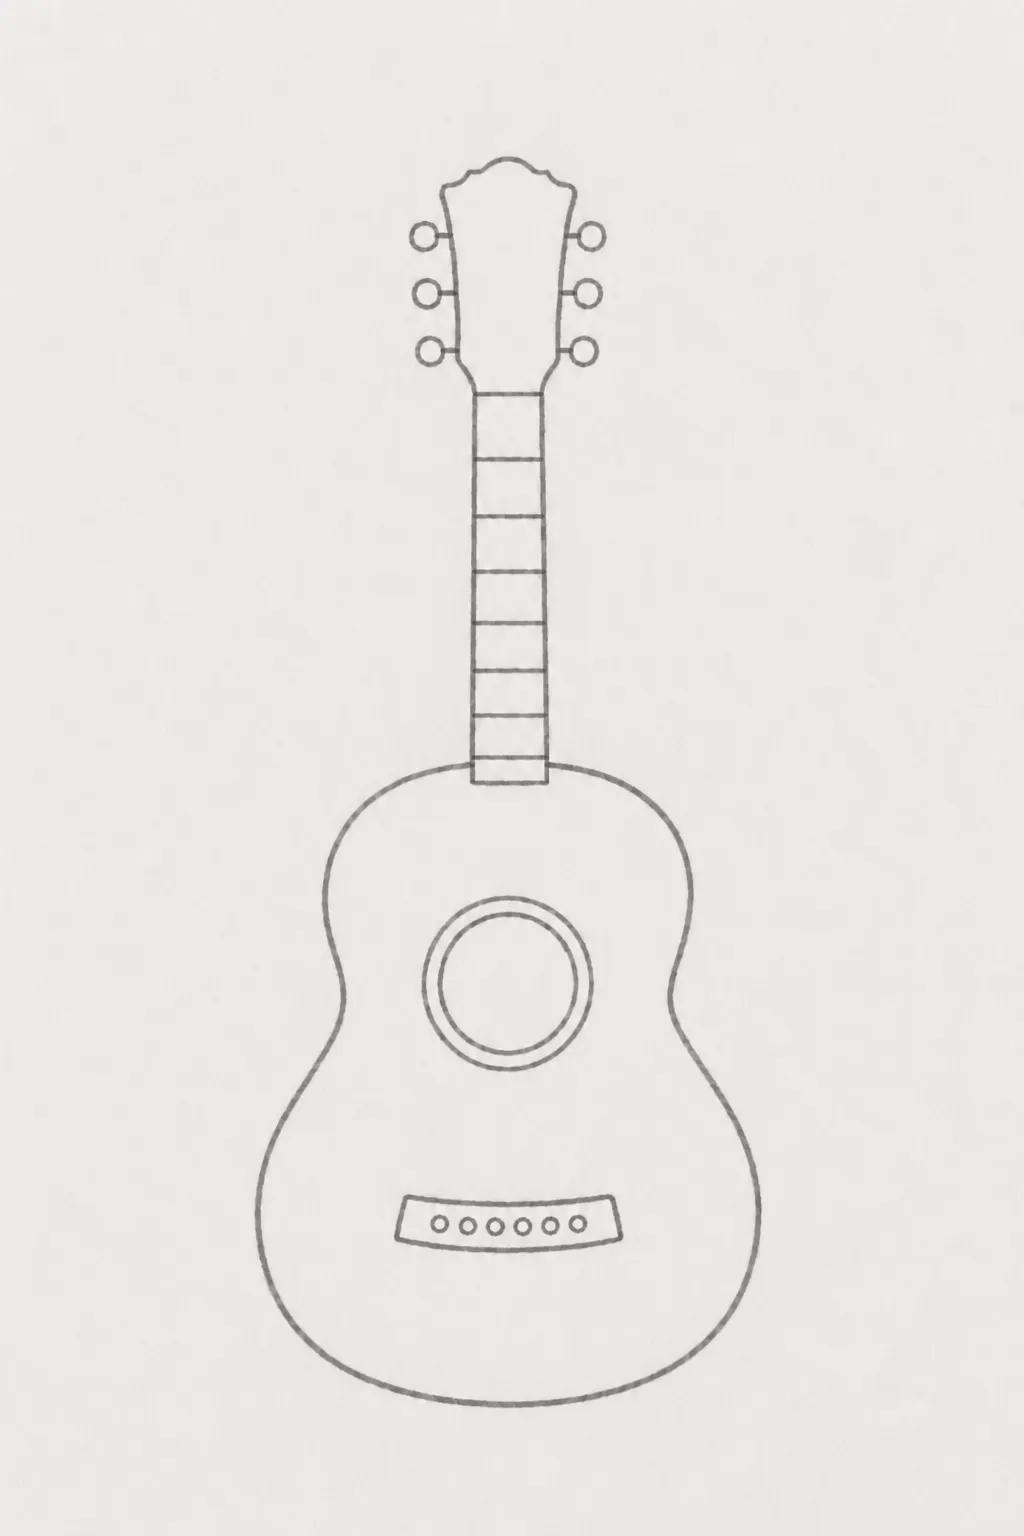
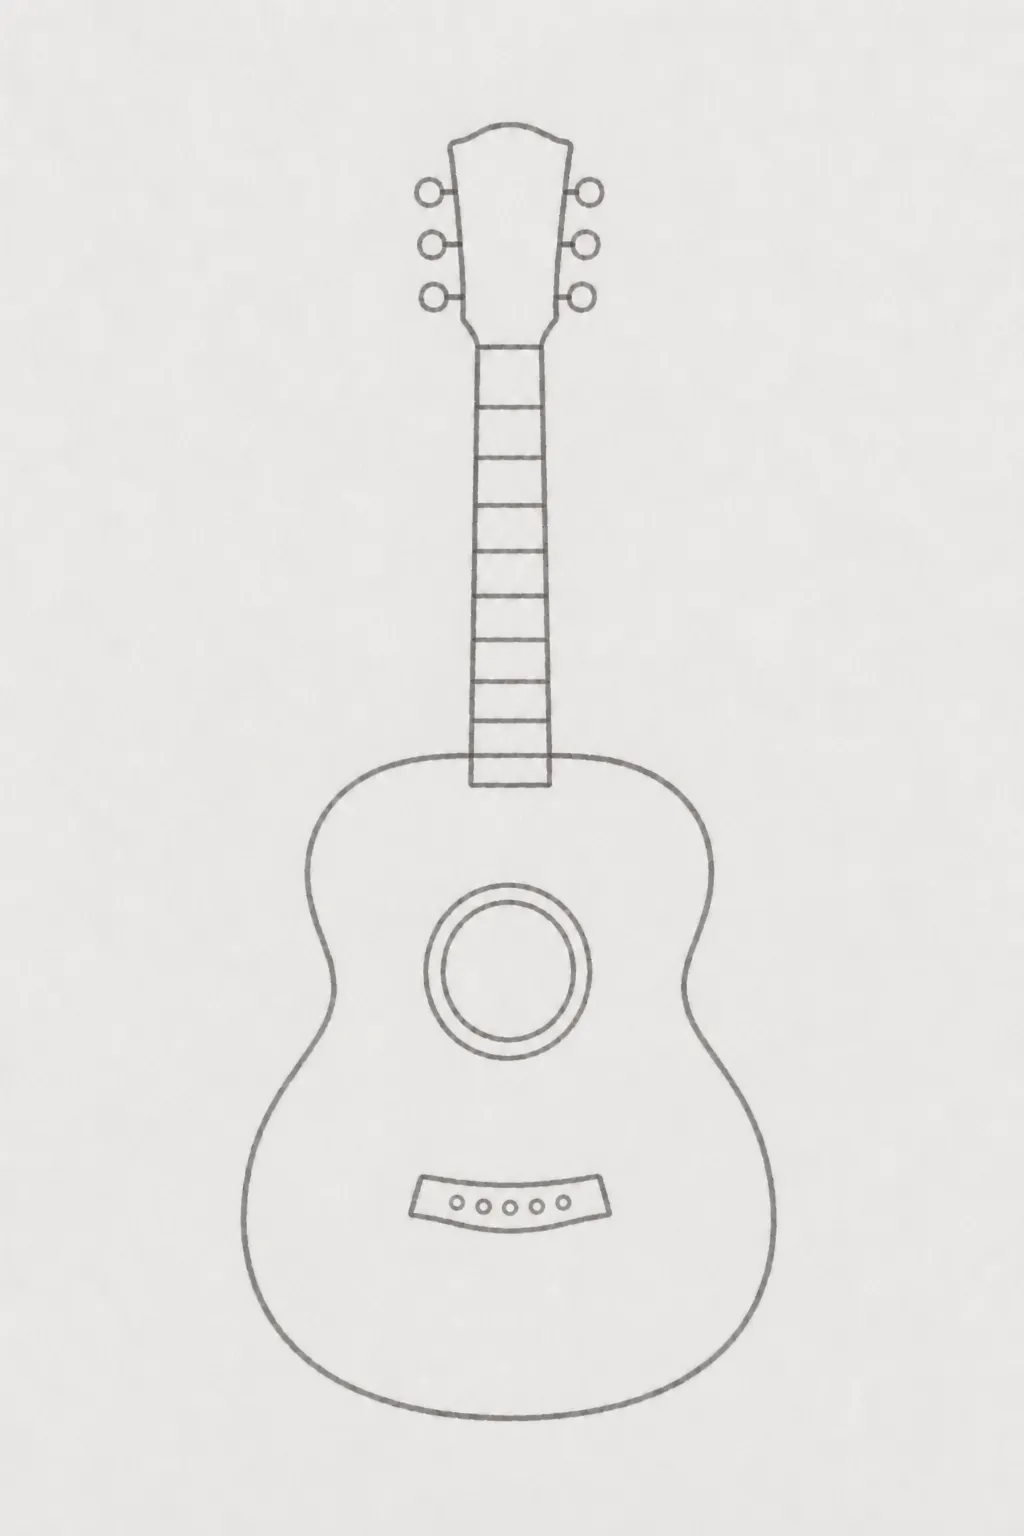
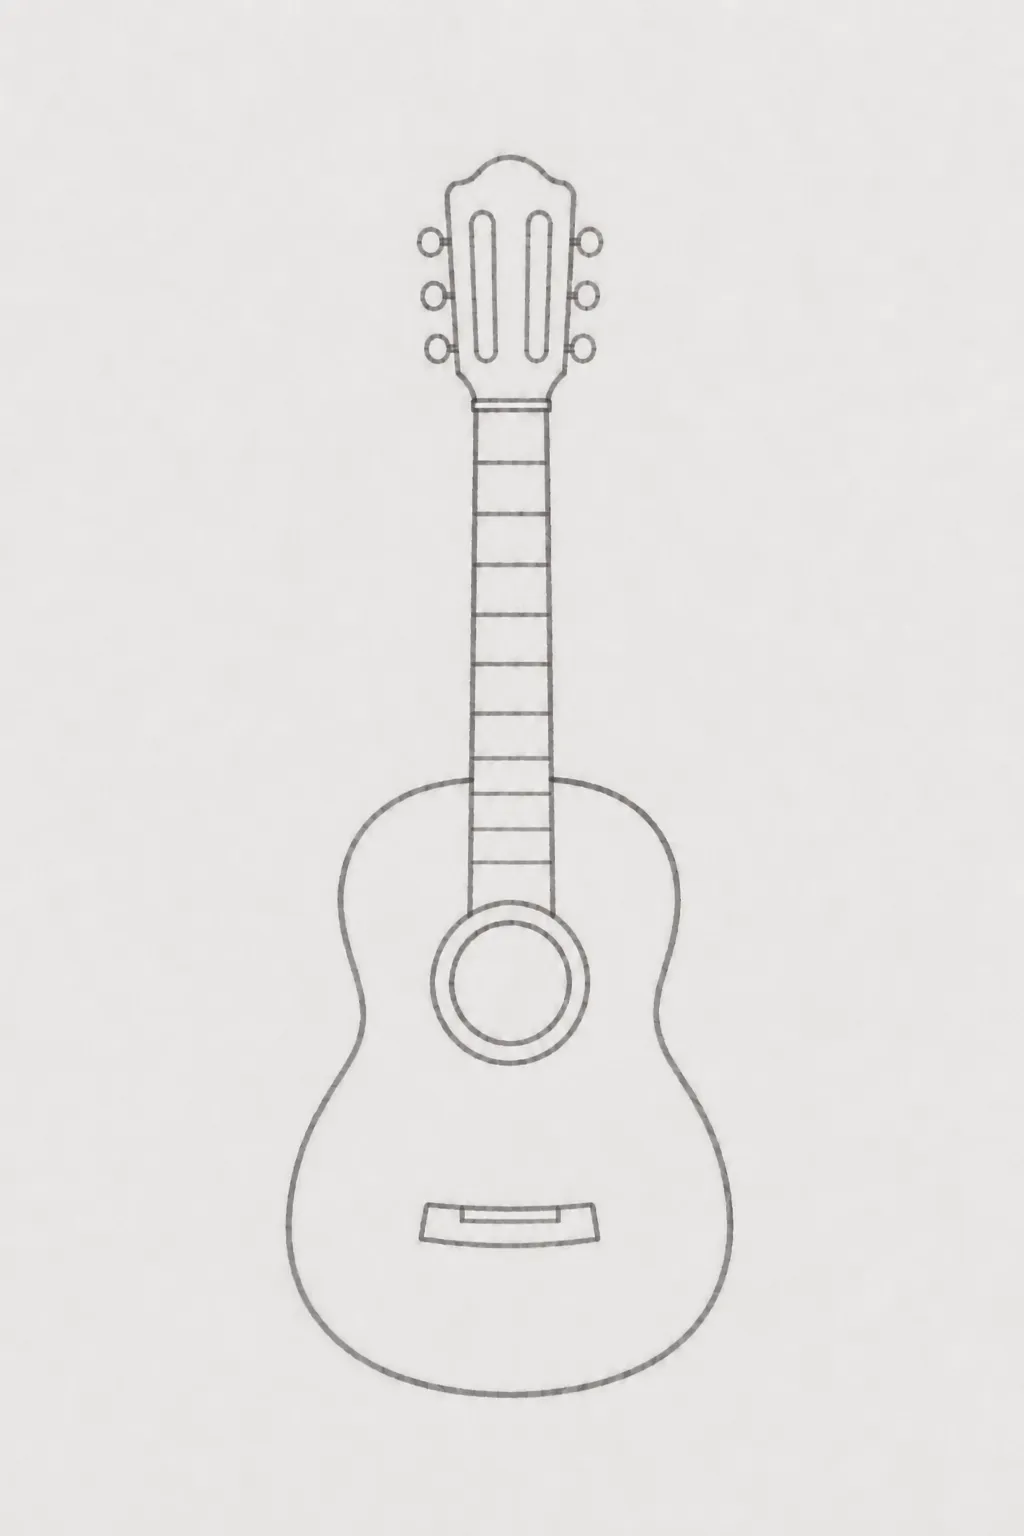
Do not worry about small details. Start with the overall shape.
Step 2: How to Draw an Electric Guitar
An electric guitar looks different, but the basic idea is the same: body, neck, headstock and strings.
This time we will give the body a more interesting shape.
1. Draw the Centerline

Start with a long vertical line. This will be the center guide for the guitar and will help keep the shape balanced as you draw.
2. Sketch the Guitar Body
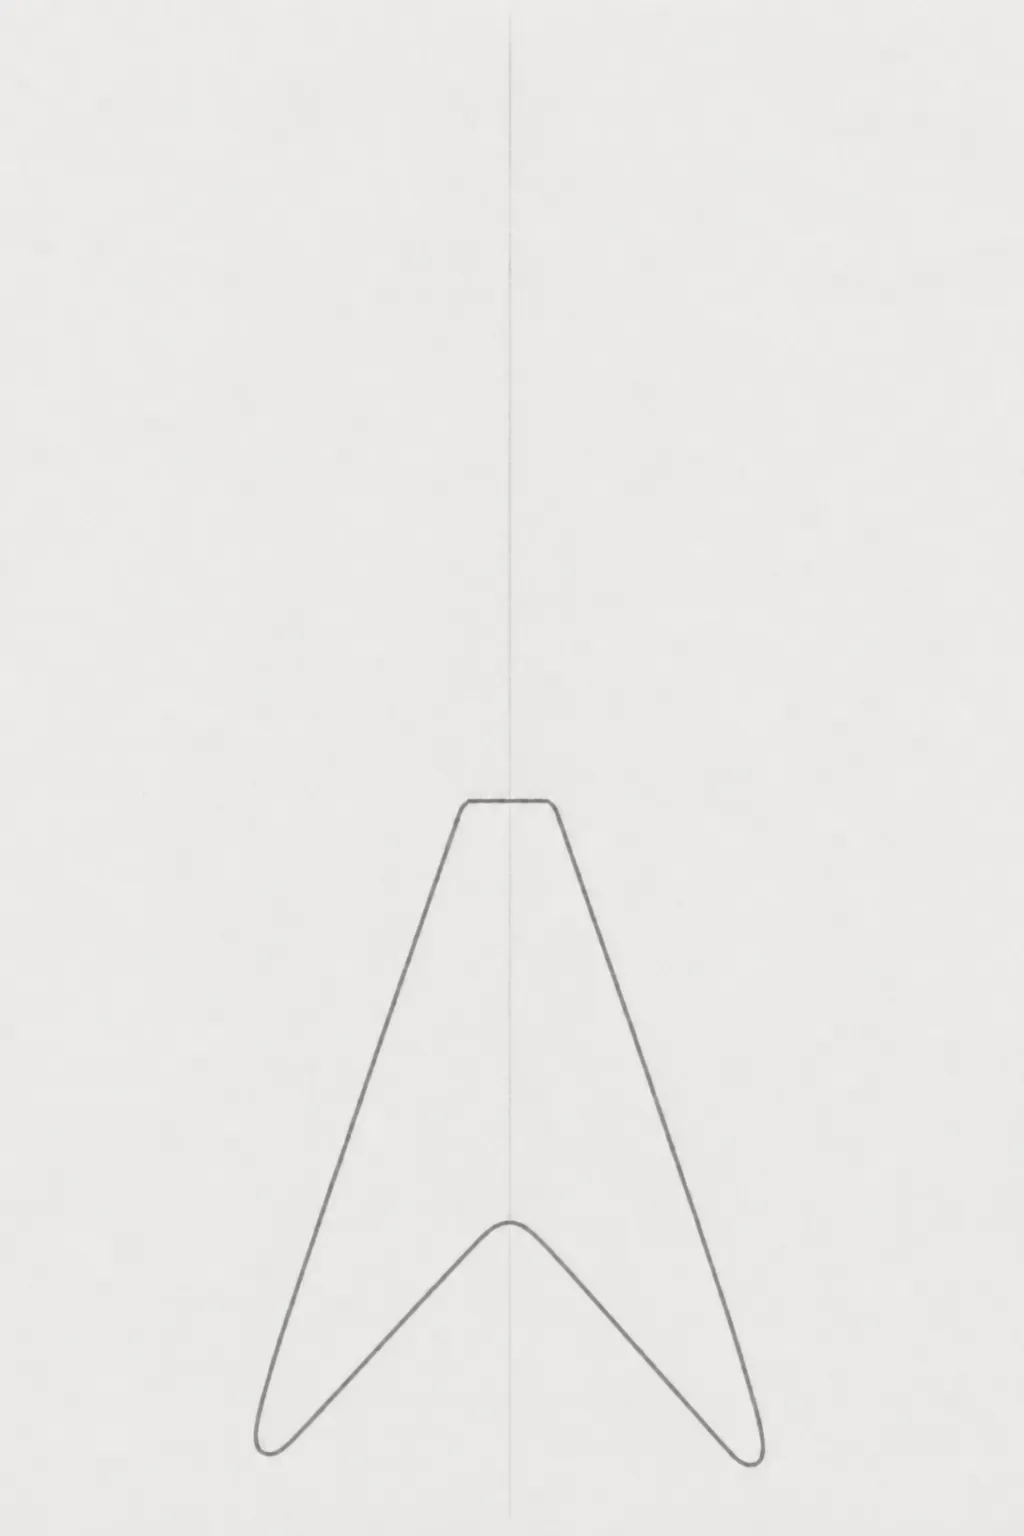
Draw the body around the lower part of the centerline. Start with the short top edge, then draw the two long outer sides and the V-shaped opening at the bottom.
3. Add the Neck and Headstock
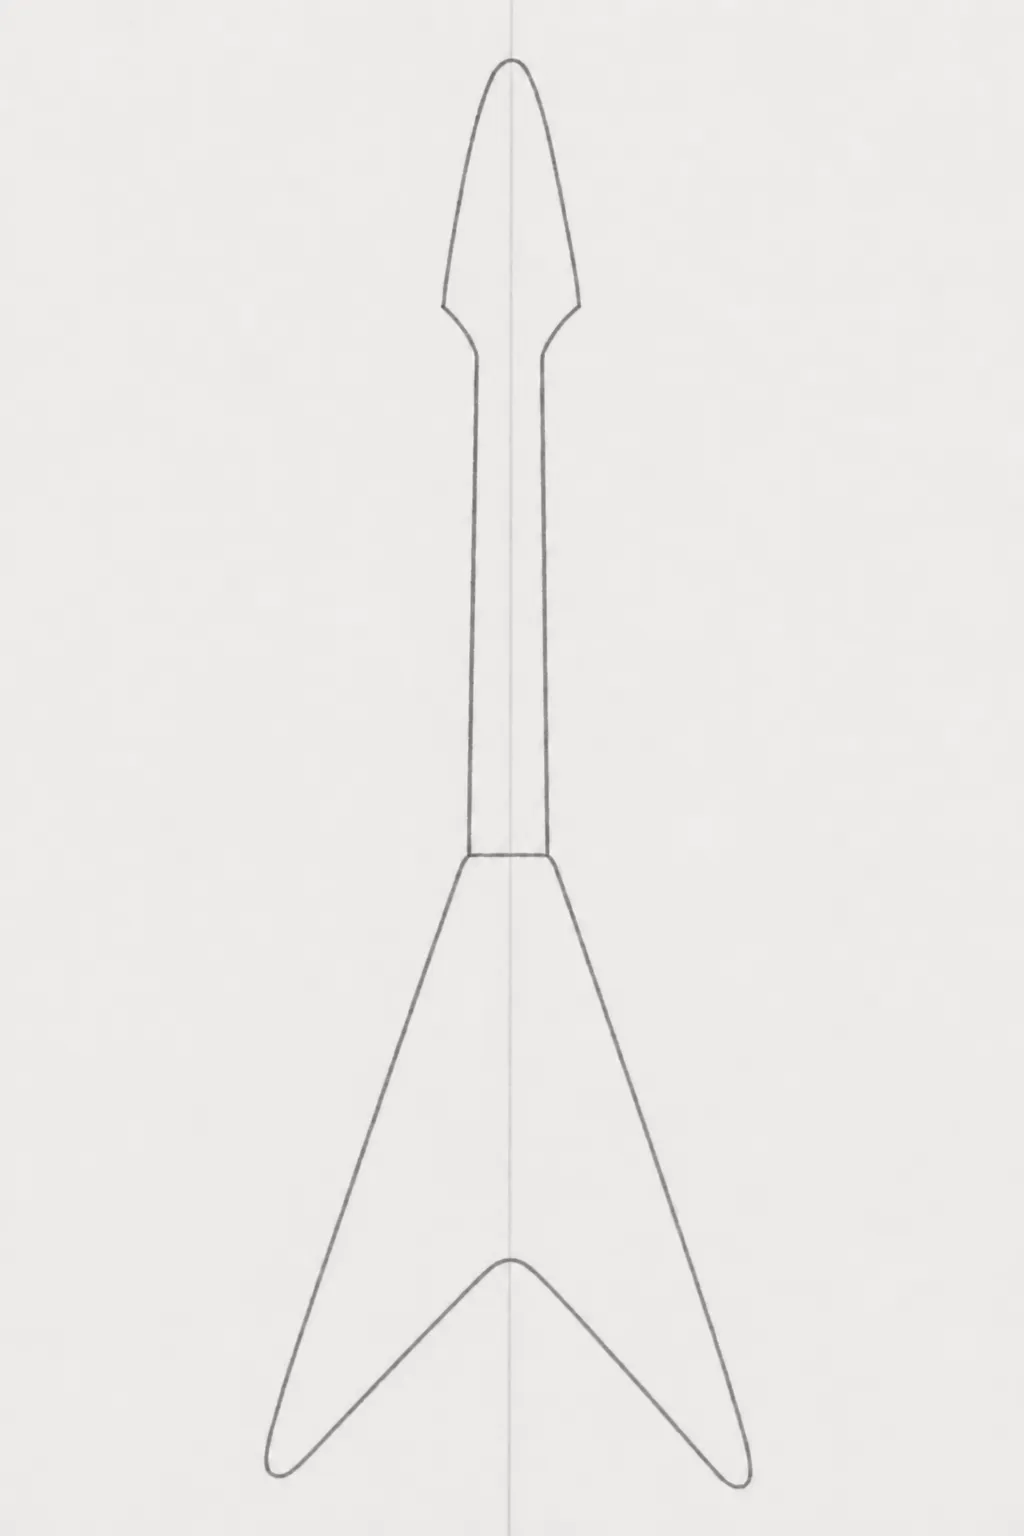
Draw a long, narrow neck extending upward from the body. At the top, sketch the simple pointed headstock, keeping it centered on the guideline.
4. Draw the Frets and Main Guitar Parts
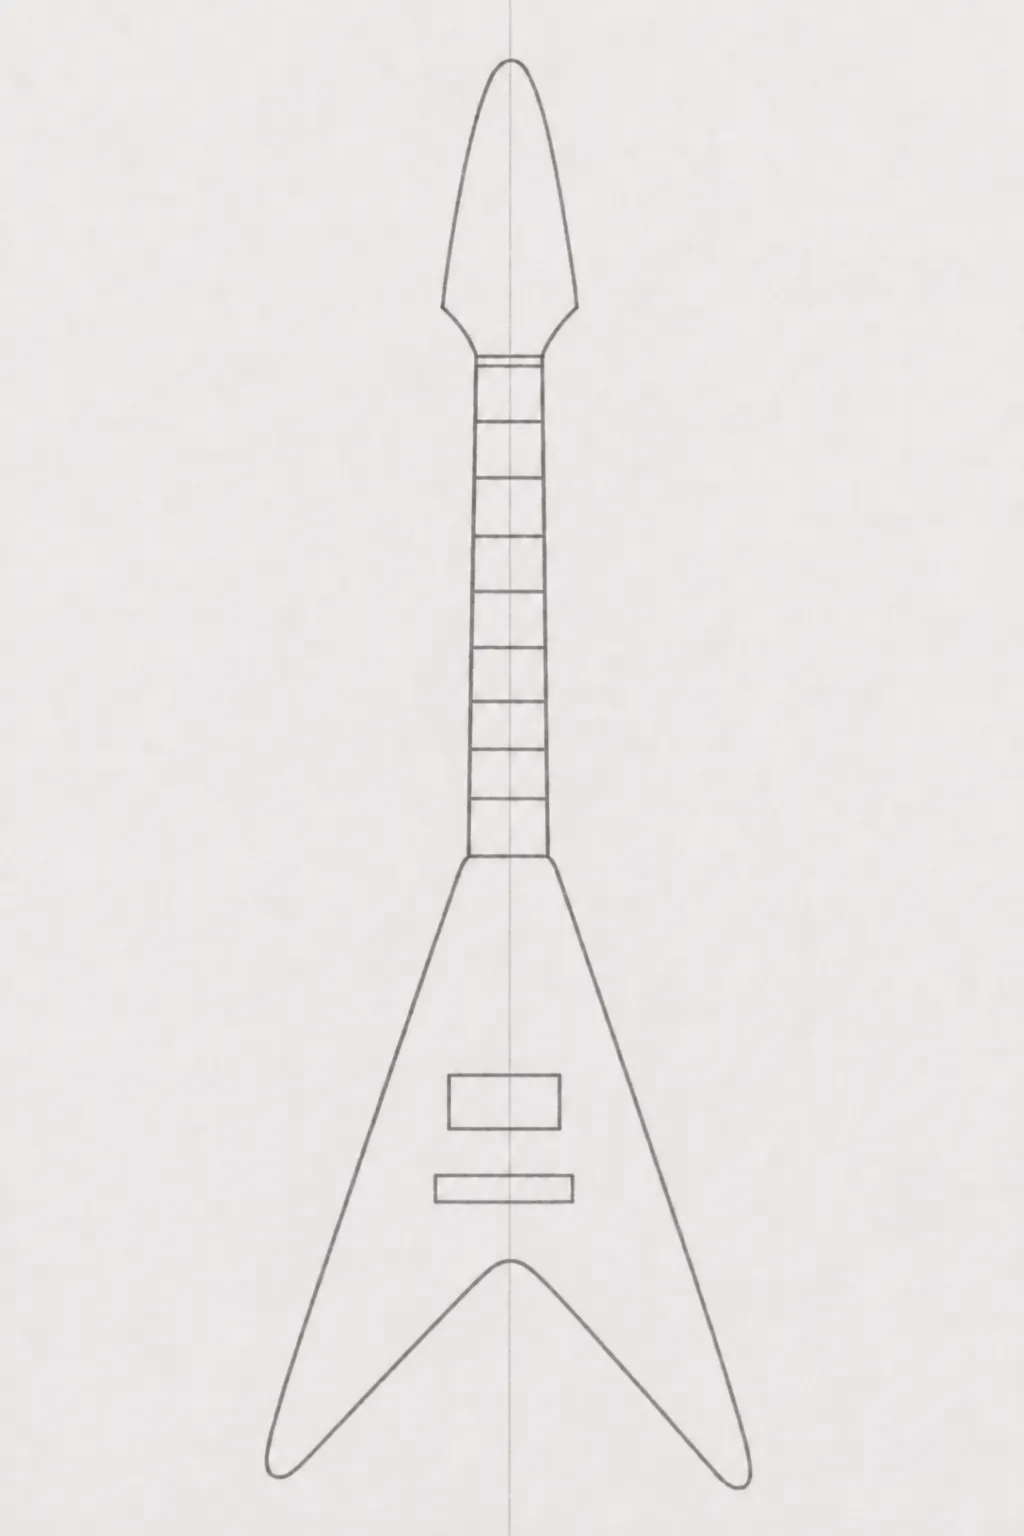
Add several horizontal fret lines across the neck. On the body, draw the rectangular pickup and the bridge below it.
5. Add the Final Details
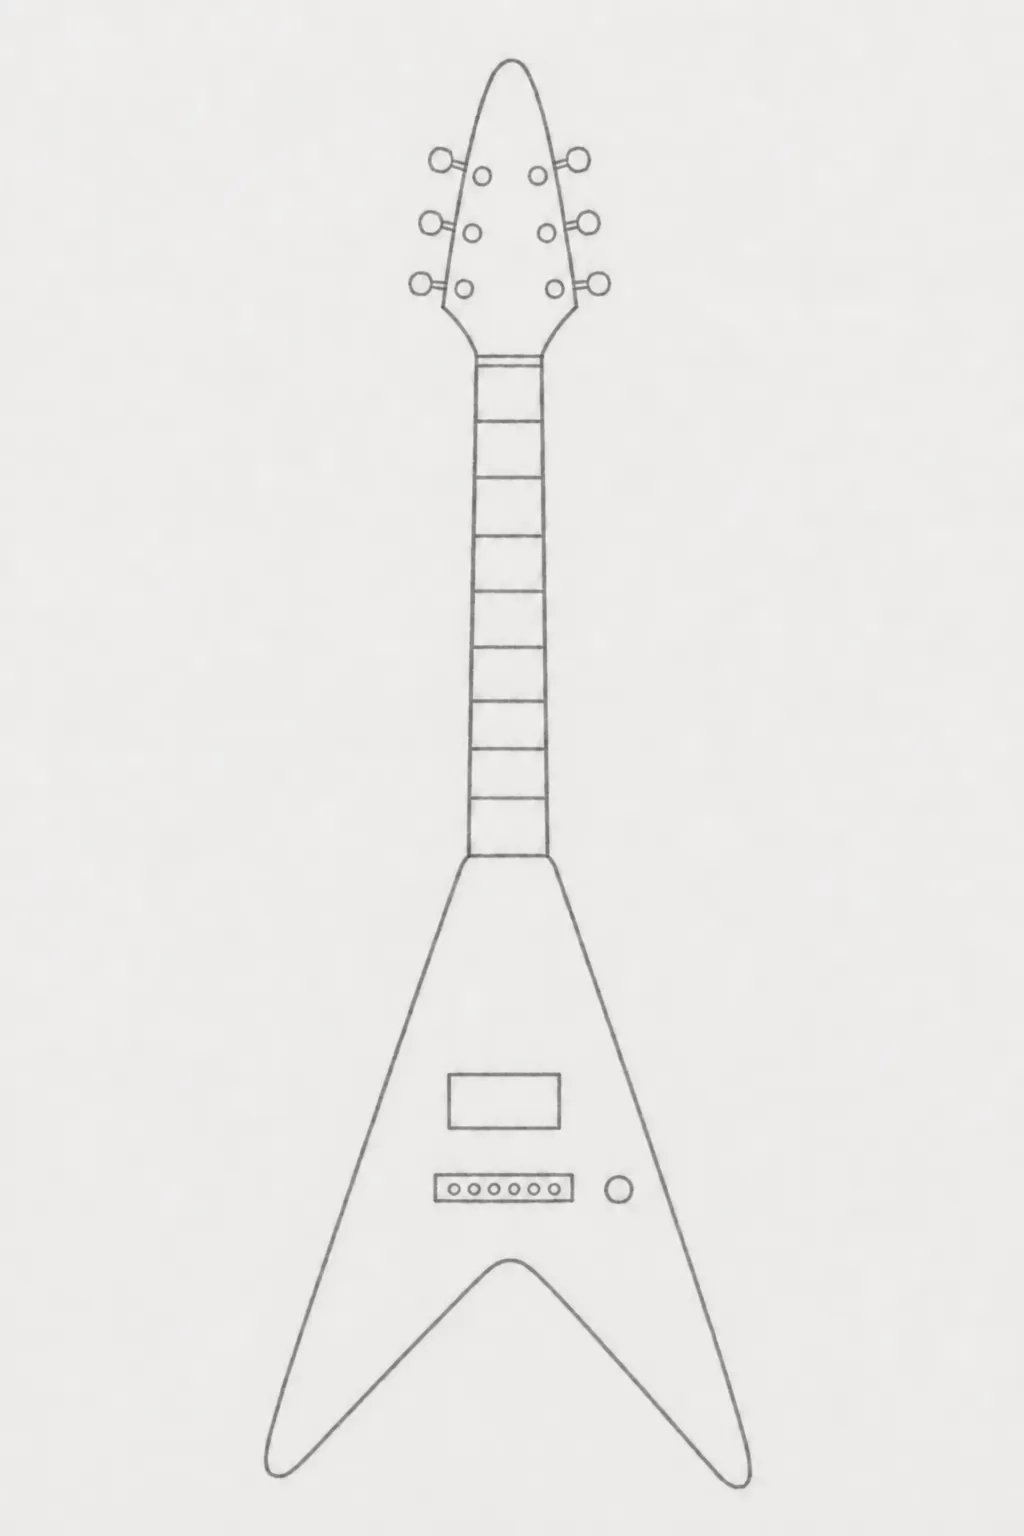
Draw the tuning pegs and the small circles on the headstock. Add the six small circles to the bridge and draw the control knob beside it.
Finish the drawing by erasing the center guideline.
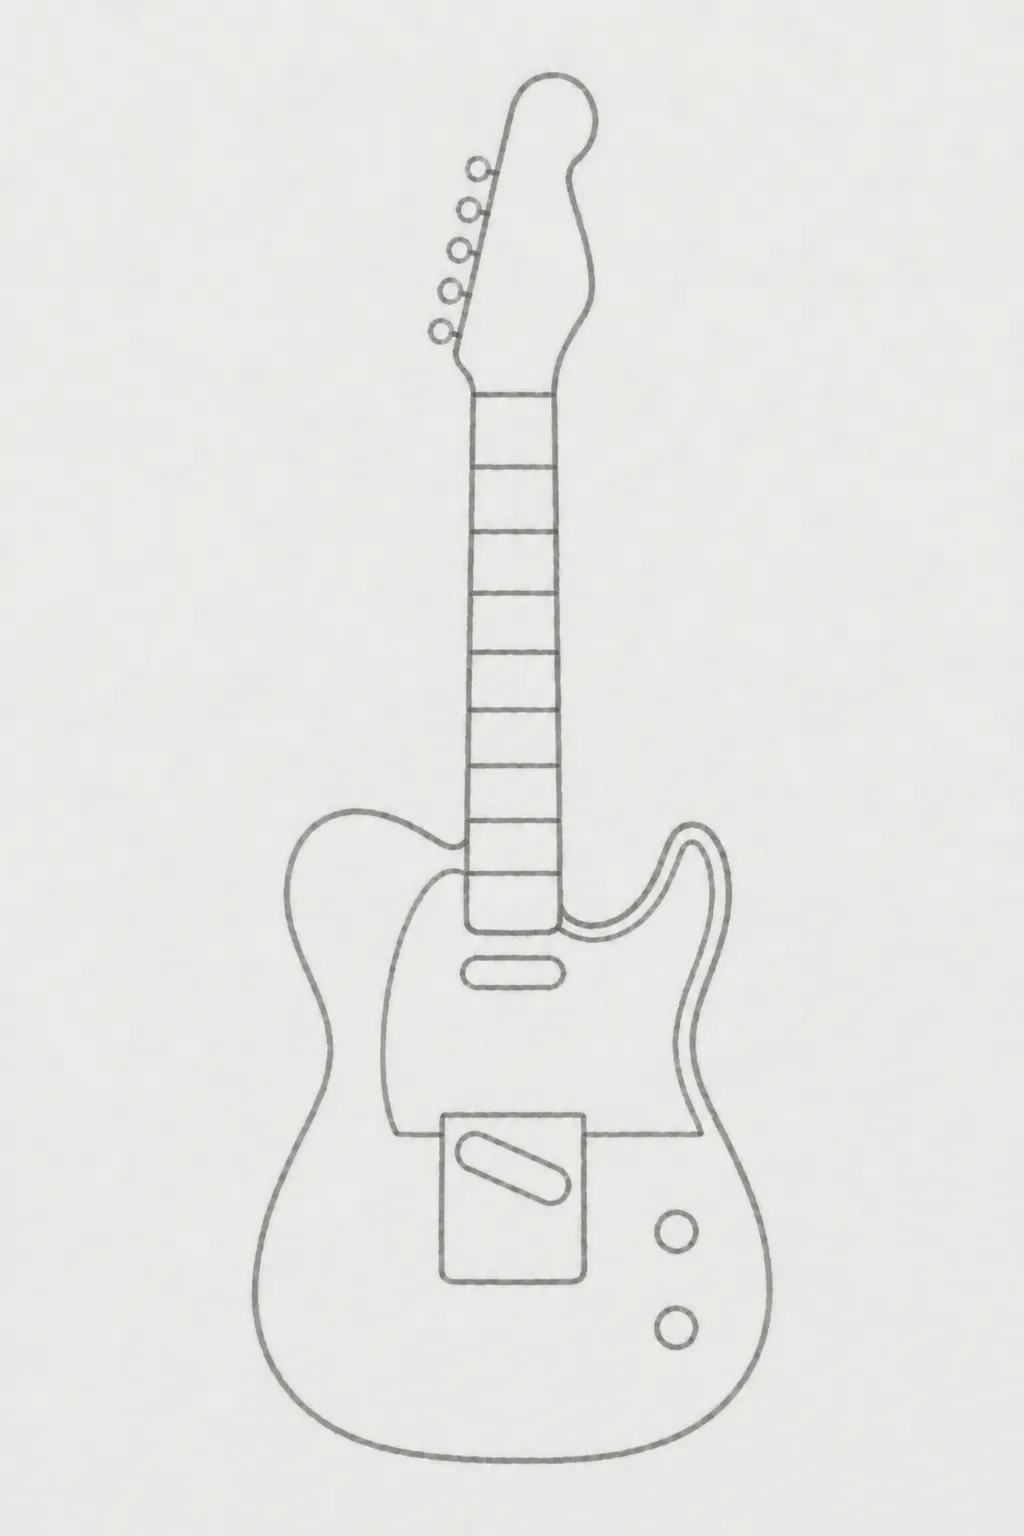
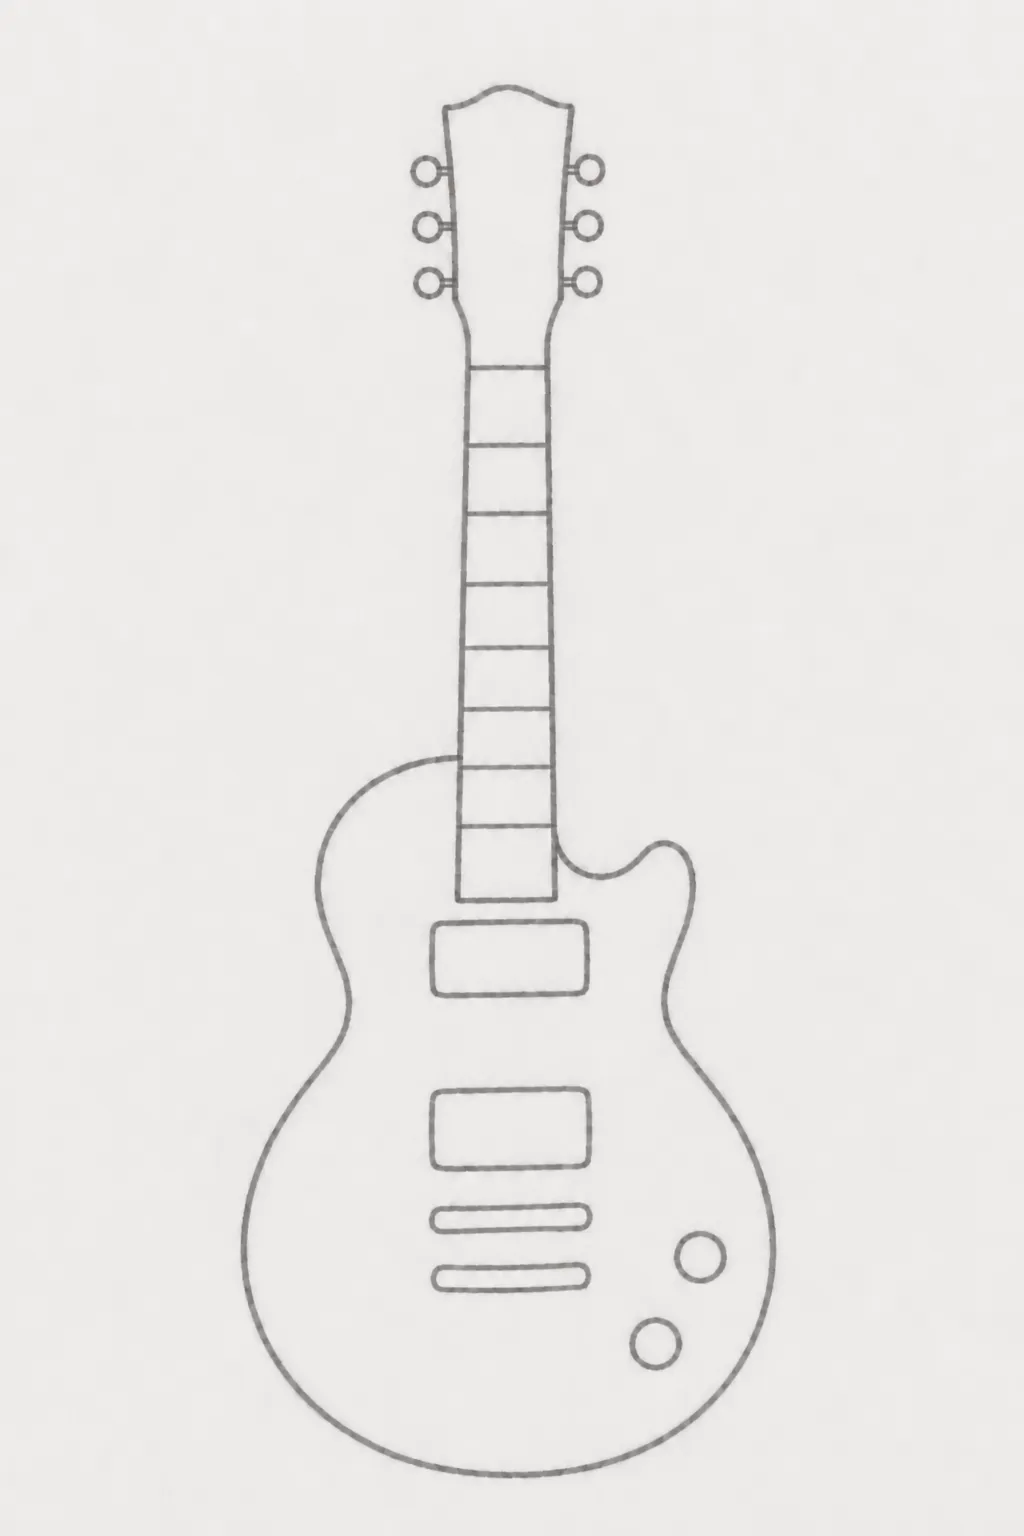
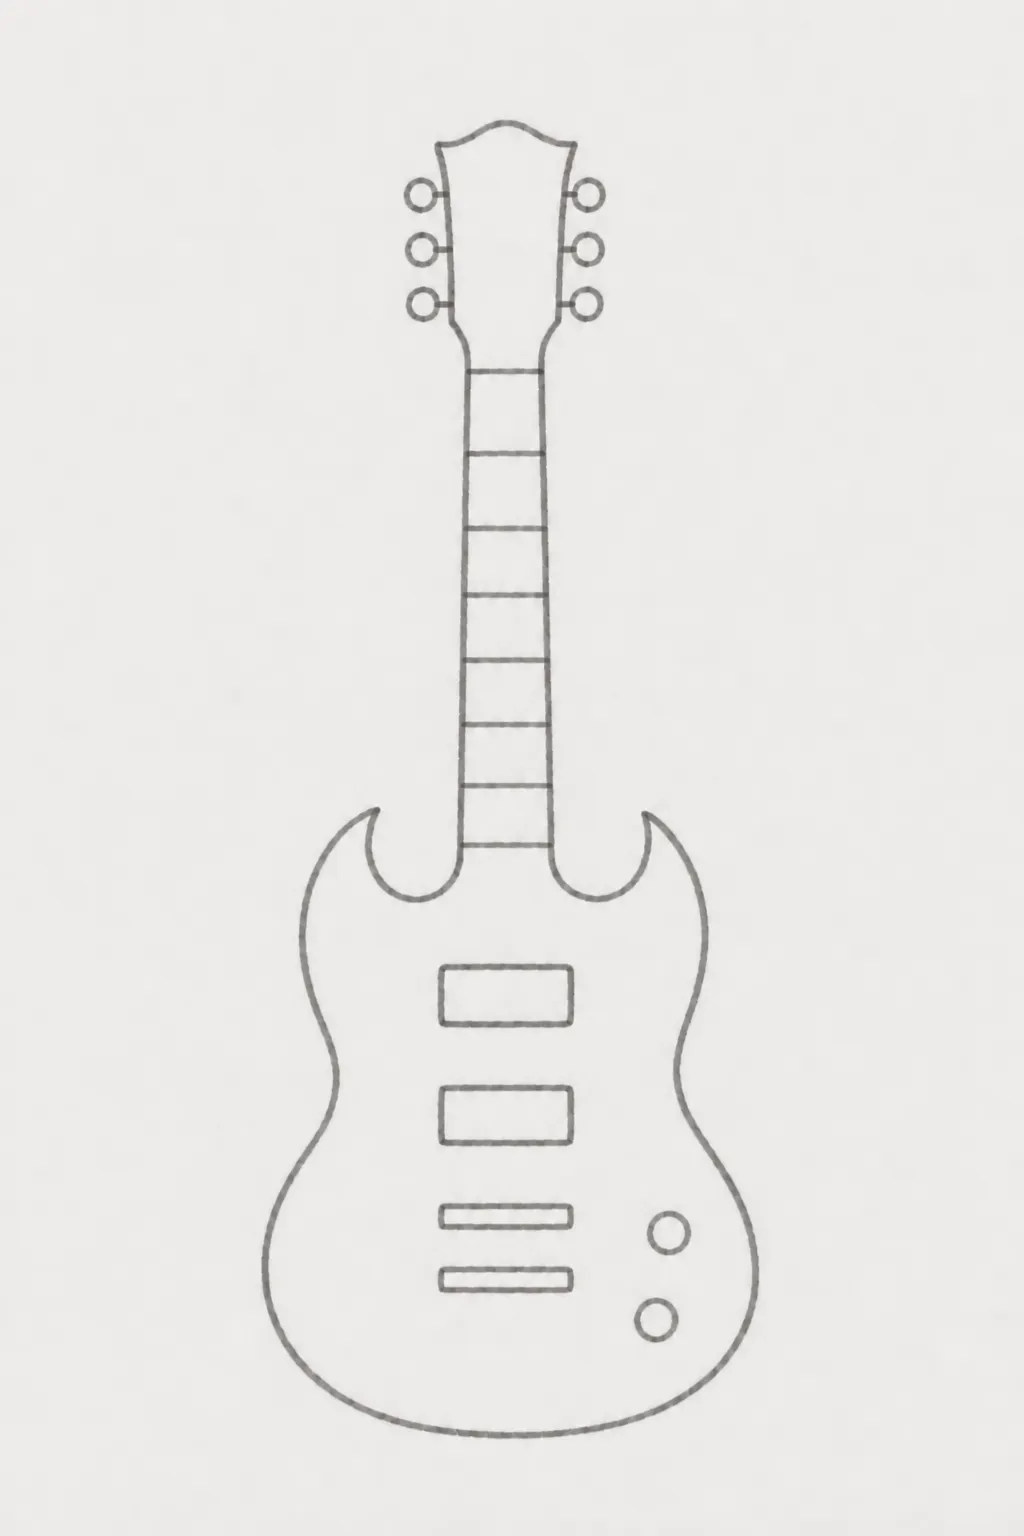
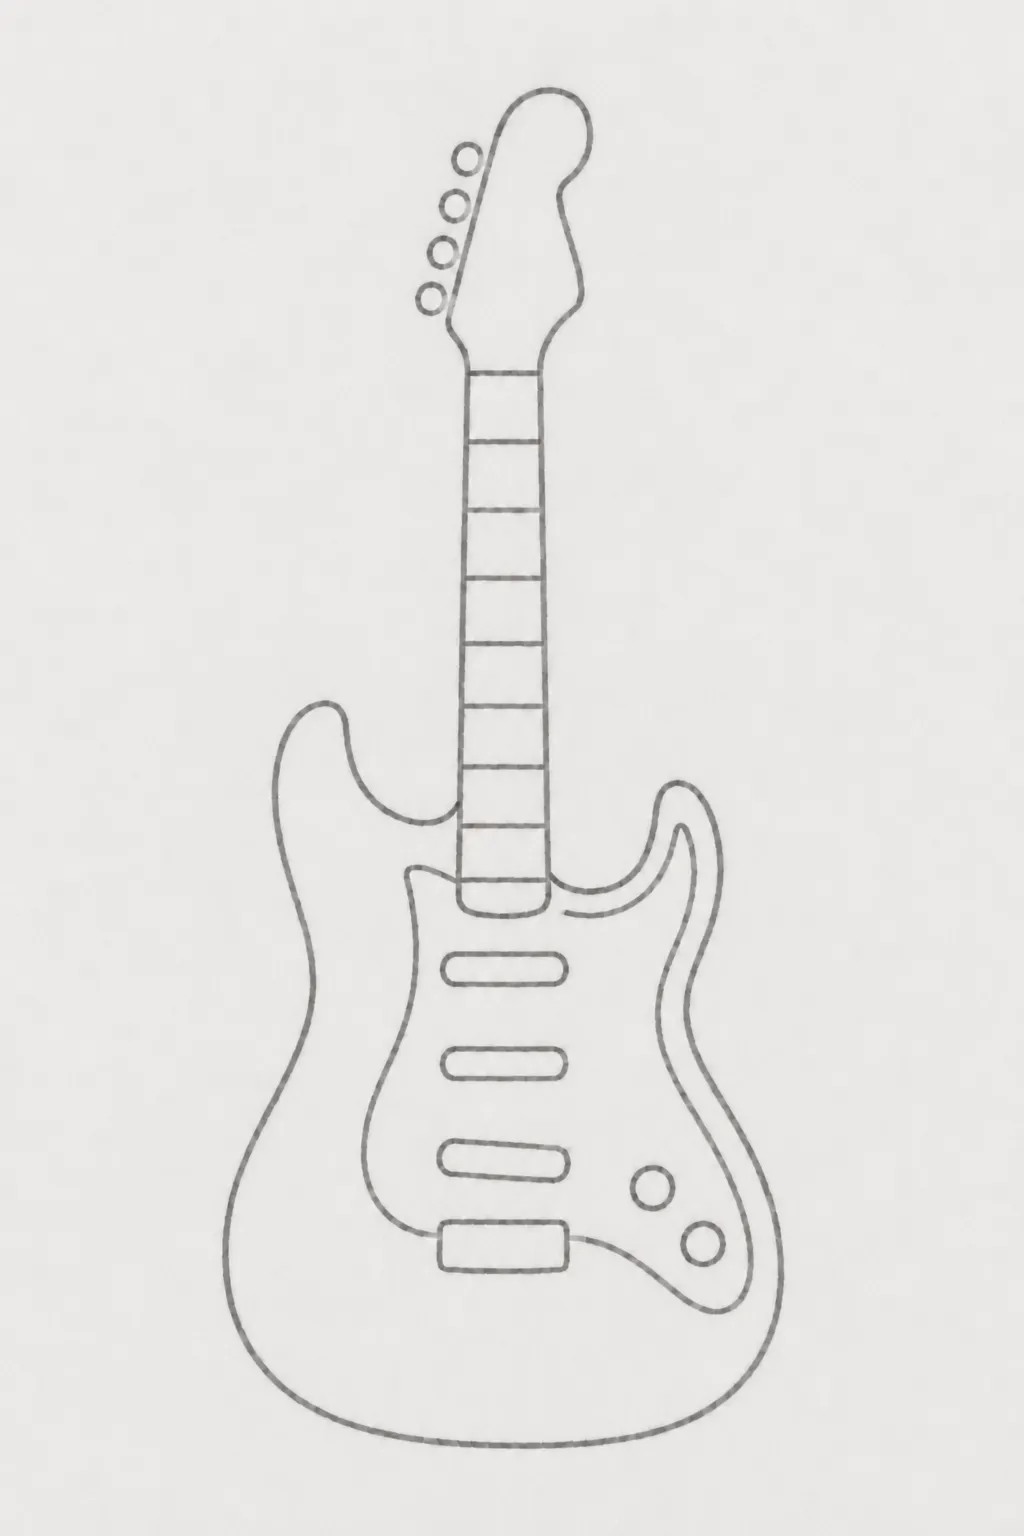
7. Easy Electric Guitar Drawing Ideas
Now try a few different body shapes.
Step 3: How to Draw a Person Holding a Guitar
Drawing the guitar is only part of it. Now let’s put it in someone’s hands.
You do not need to draw a detailed person. Start with simple shapes, place the guitar in the right position, and build the pose around it.
1. Draw the Basic Pose
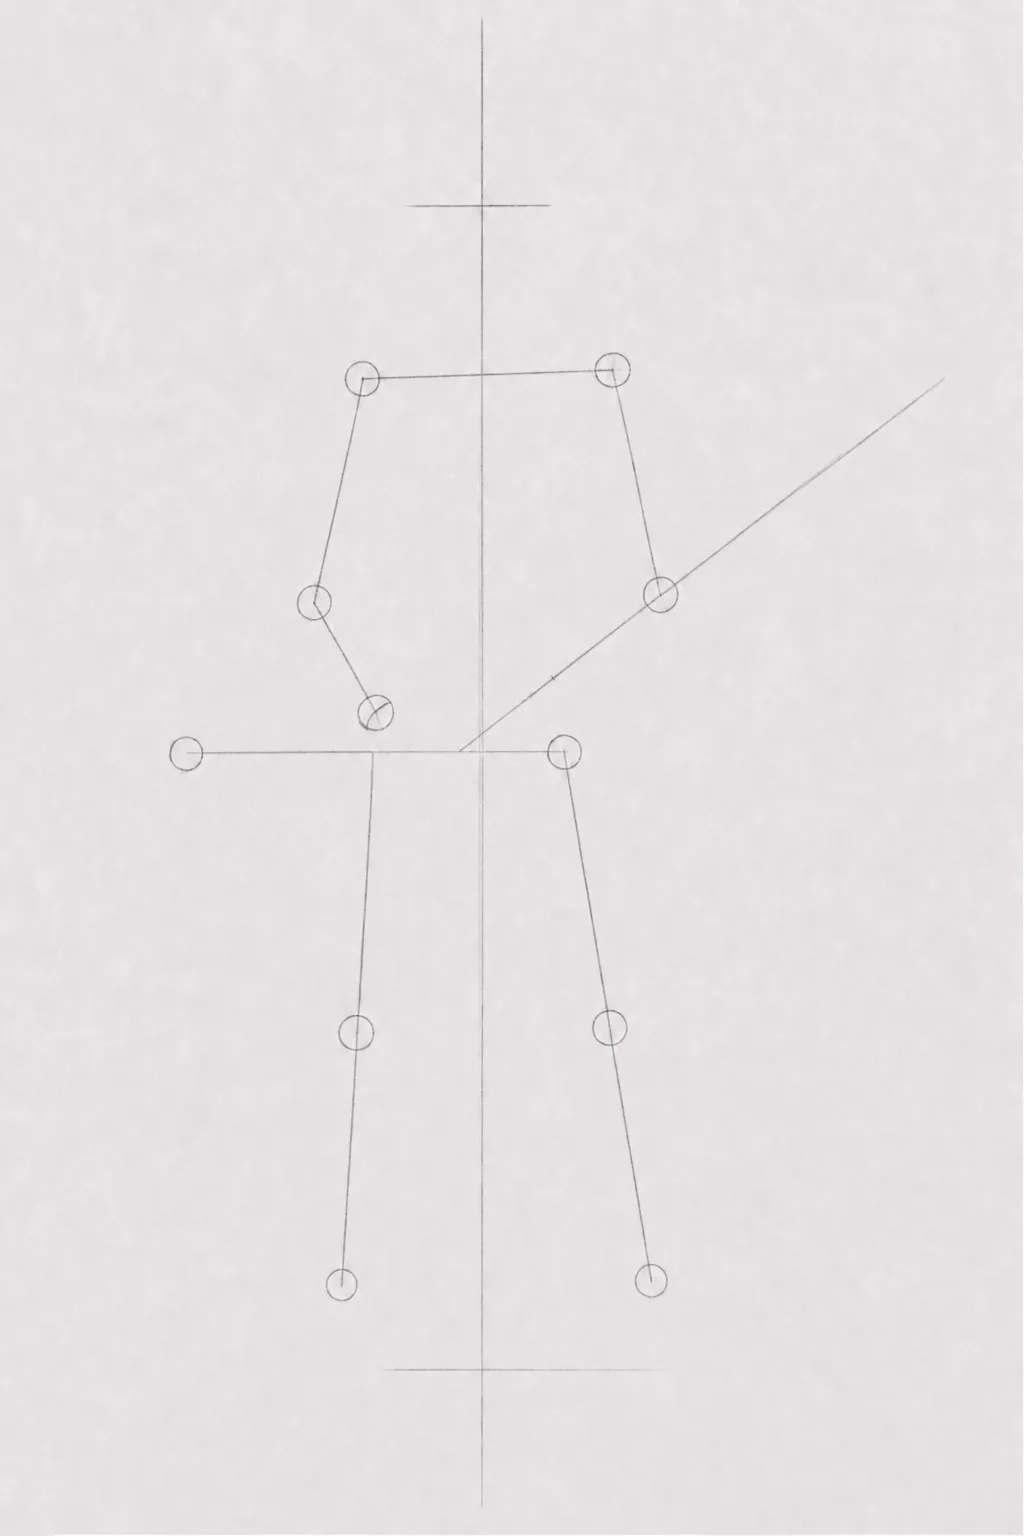
Start with a simple construction sketch. Draw a long vertical guideline for the body and use light lines and small circles to mark the shoulders, elbows, hands, hips, knees, and feet. Add a diagonal guideline for the guitar.
Keep these lines very light – they are only there to help you build the pose.
2. Sketch the Body
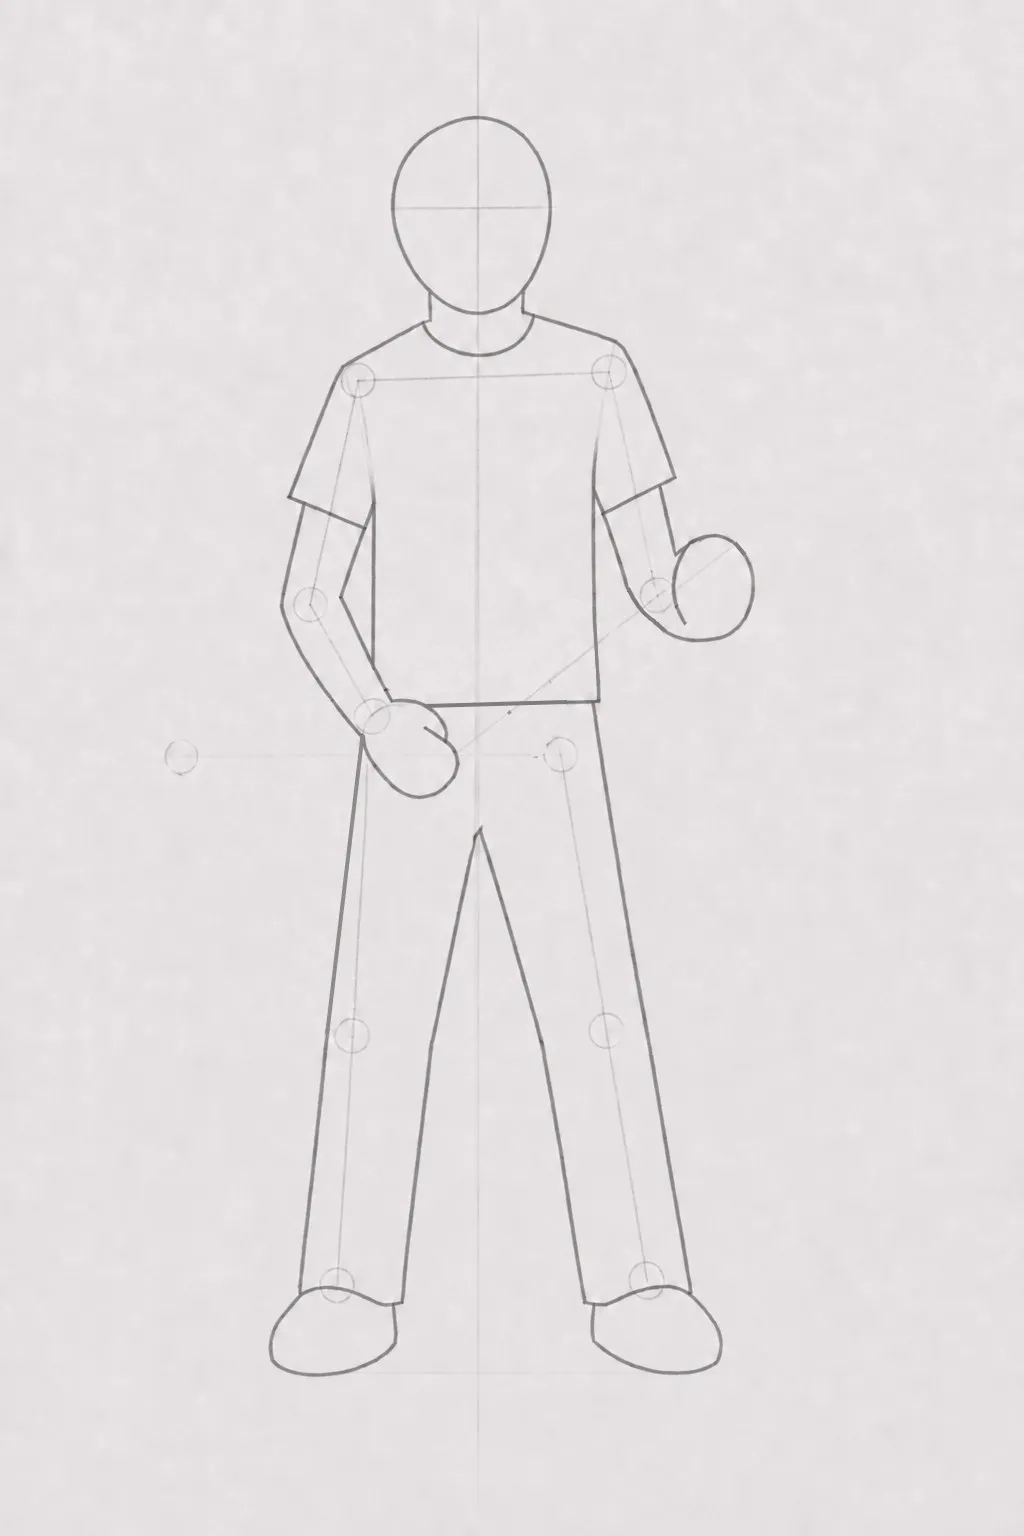
Use the construction lines as a guide to draw the basic shape of the person. Add the head, T-shirt, arms, simple hands, pants, and shoes.
Keep everything simple and do not erase the guidelines yet – they will help you keep the pose and proportions in place.
3. Add the Guitar
Now draw the guitar over the figure, following the diagonal guideline. Sketch the body of the guitar, the neck, and the headstock. Position it so that both hands naturally meet the guitar.
4. Add the Final Details
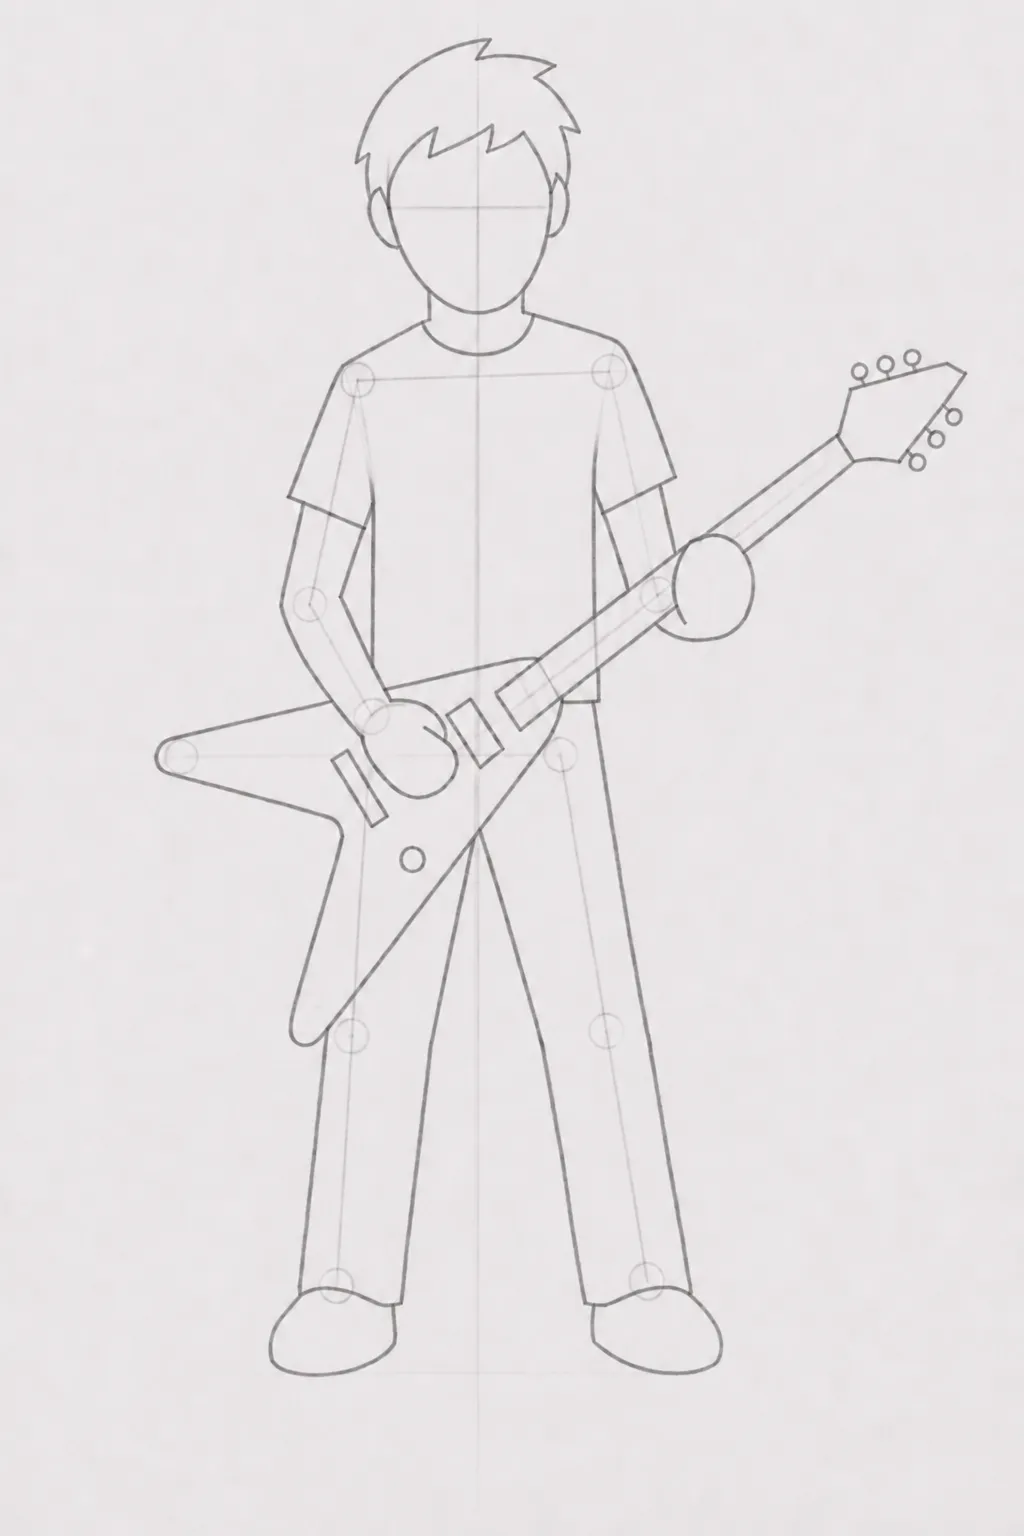
Add the last simple details to the drawing. Draw the hair and ears on the person. Then add the basic guitar parts, such as the pickup, bridge, control knob, and tuning pegs.
5. Erase the Guidelines
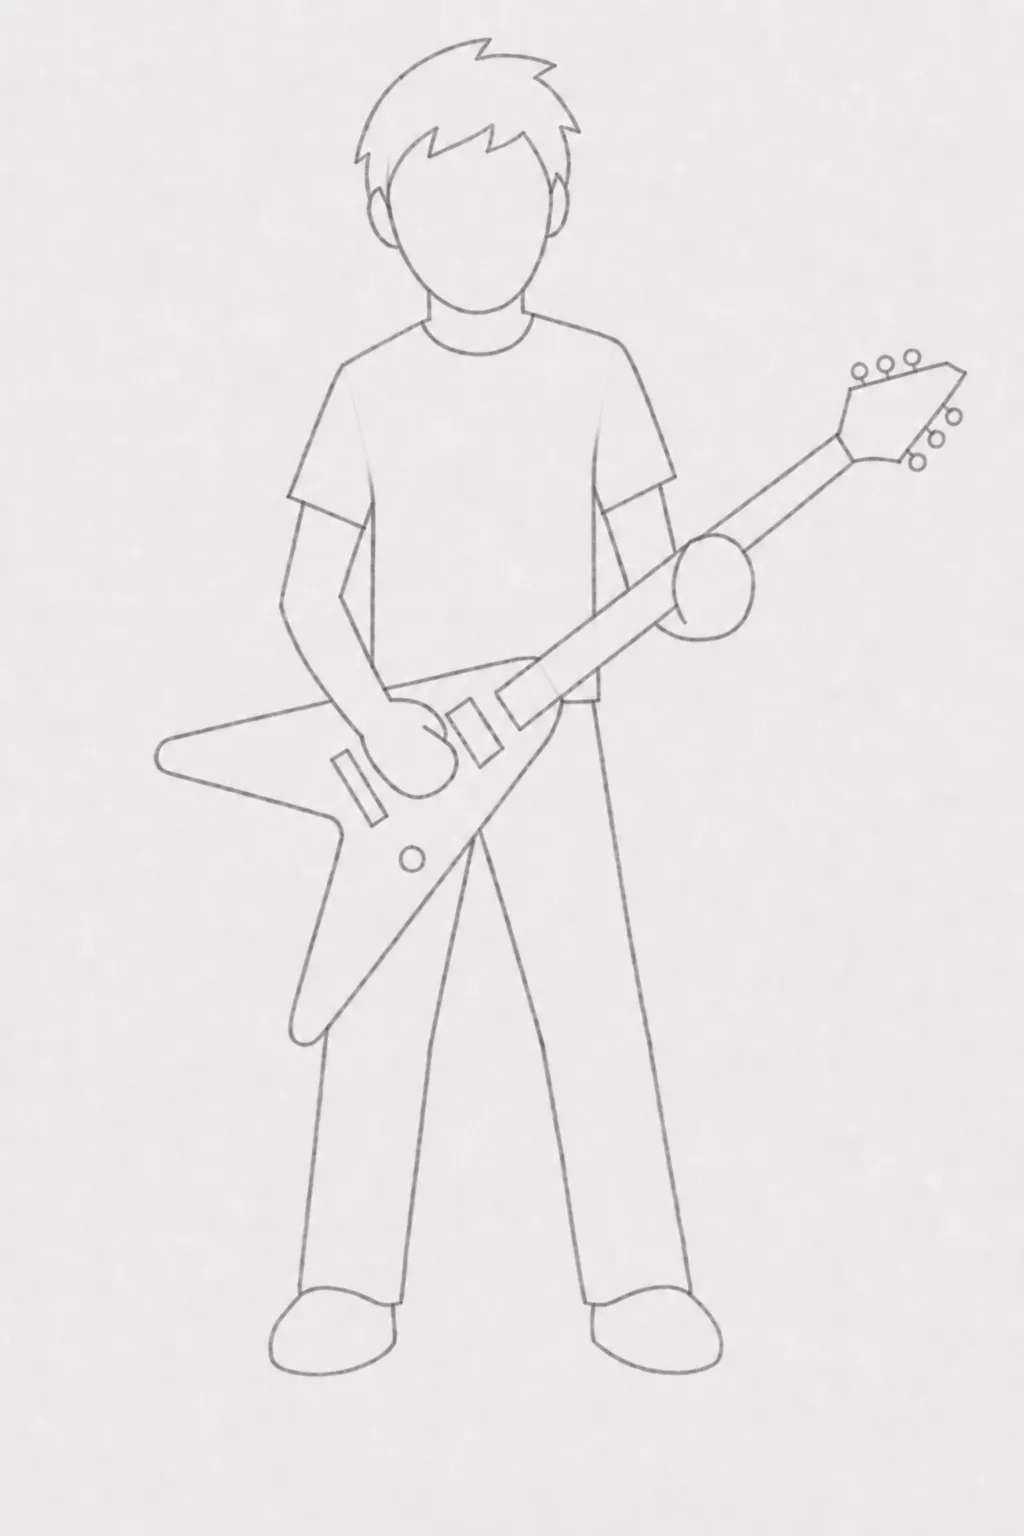
Once everything is in place, erase the construction lines and circles.
6. Holding Guitar Pose Drawing Ideas
Now try a few poses on your own.
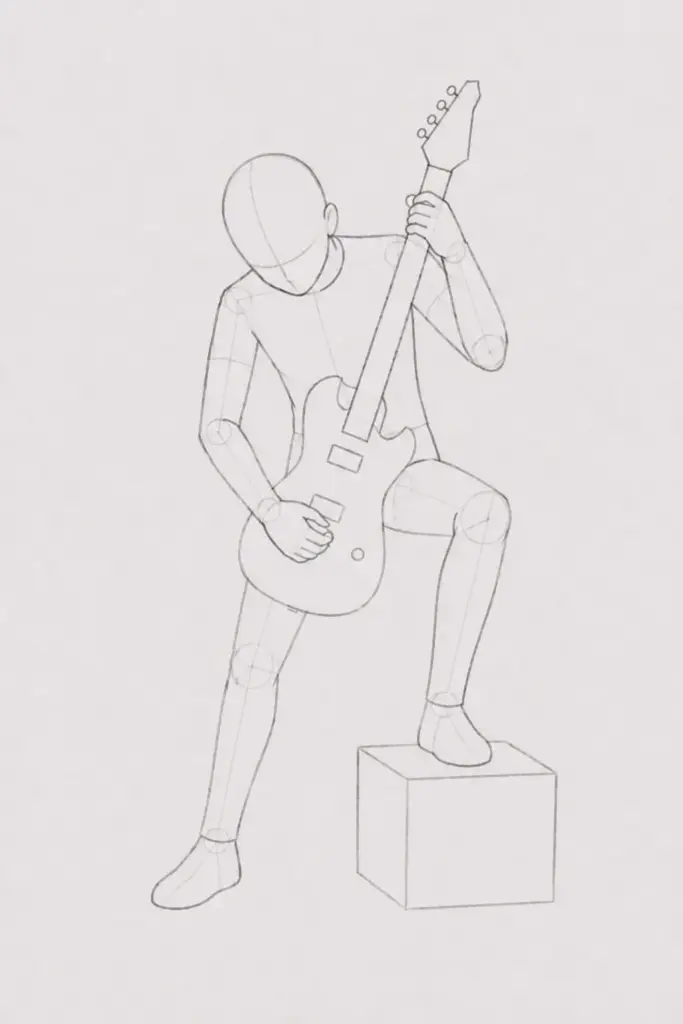
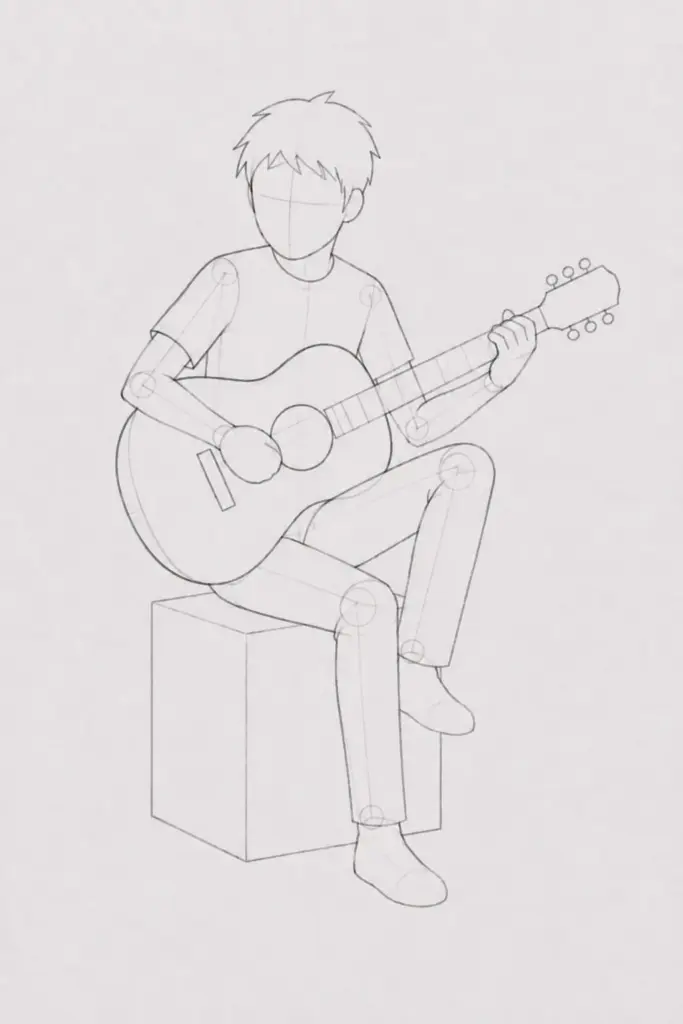
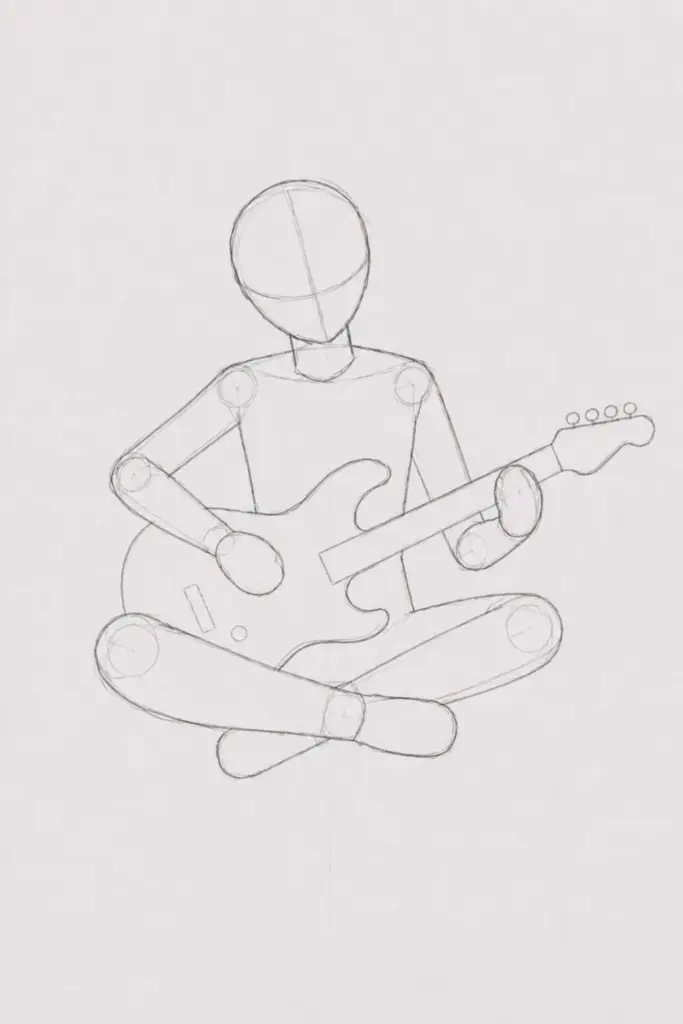
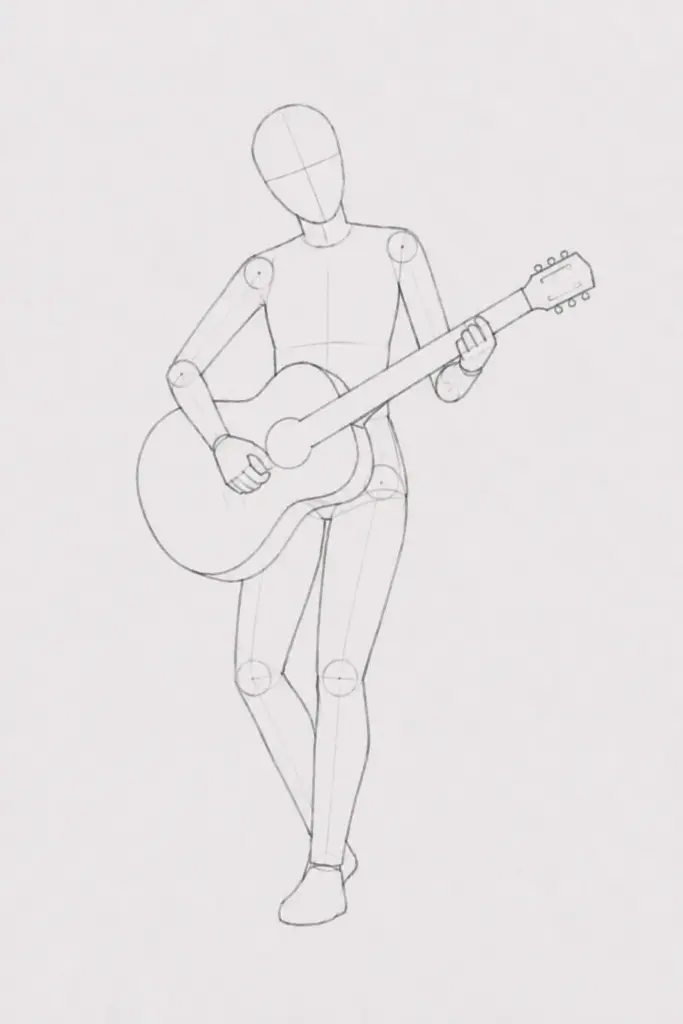
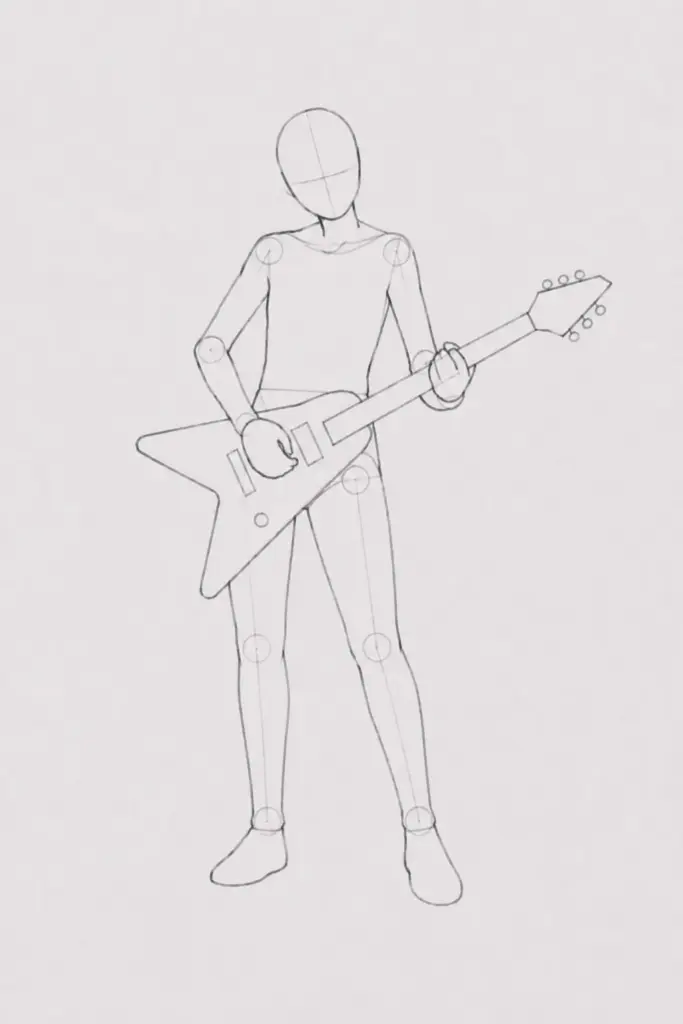
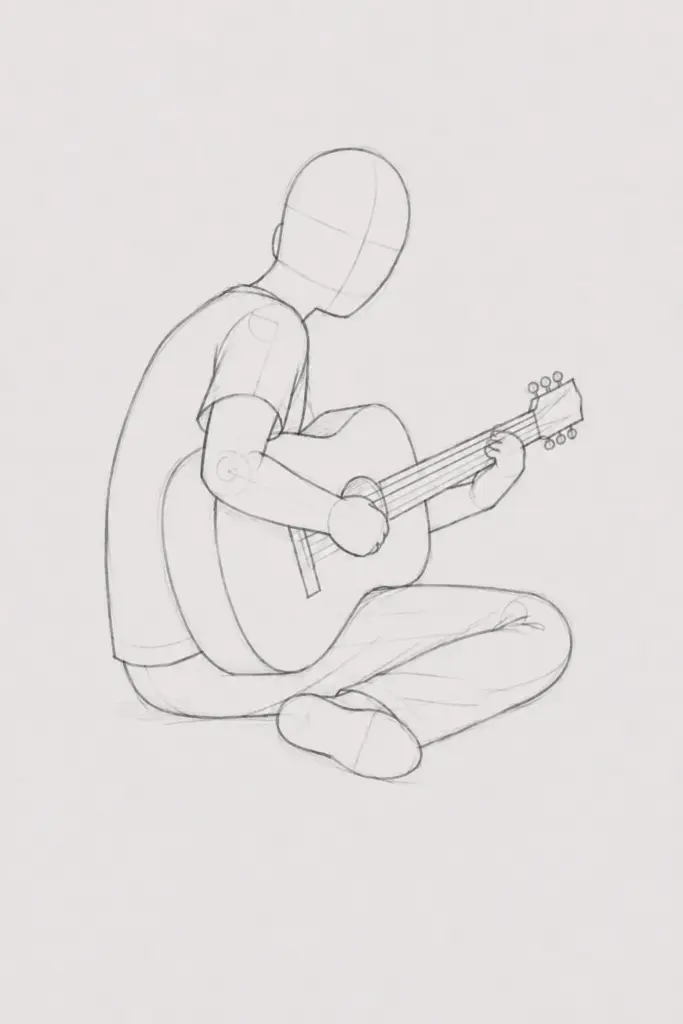
Don’t worry about faces or small details. Focus on the pose, the arms and where the guitar sits.
Step 4: Draw Guitars in Different Styles
You know the basic shape now. Time to stop drawing the same guitar over and over.
Take one guitar and try it in a few different styles.
Doodle
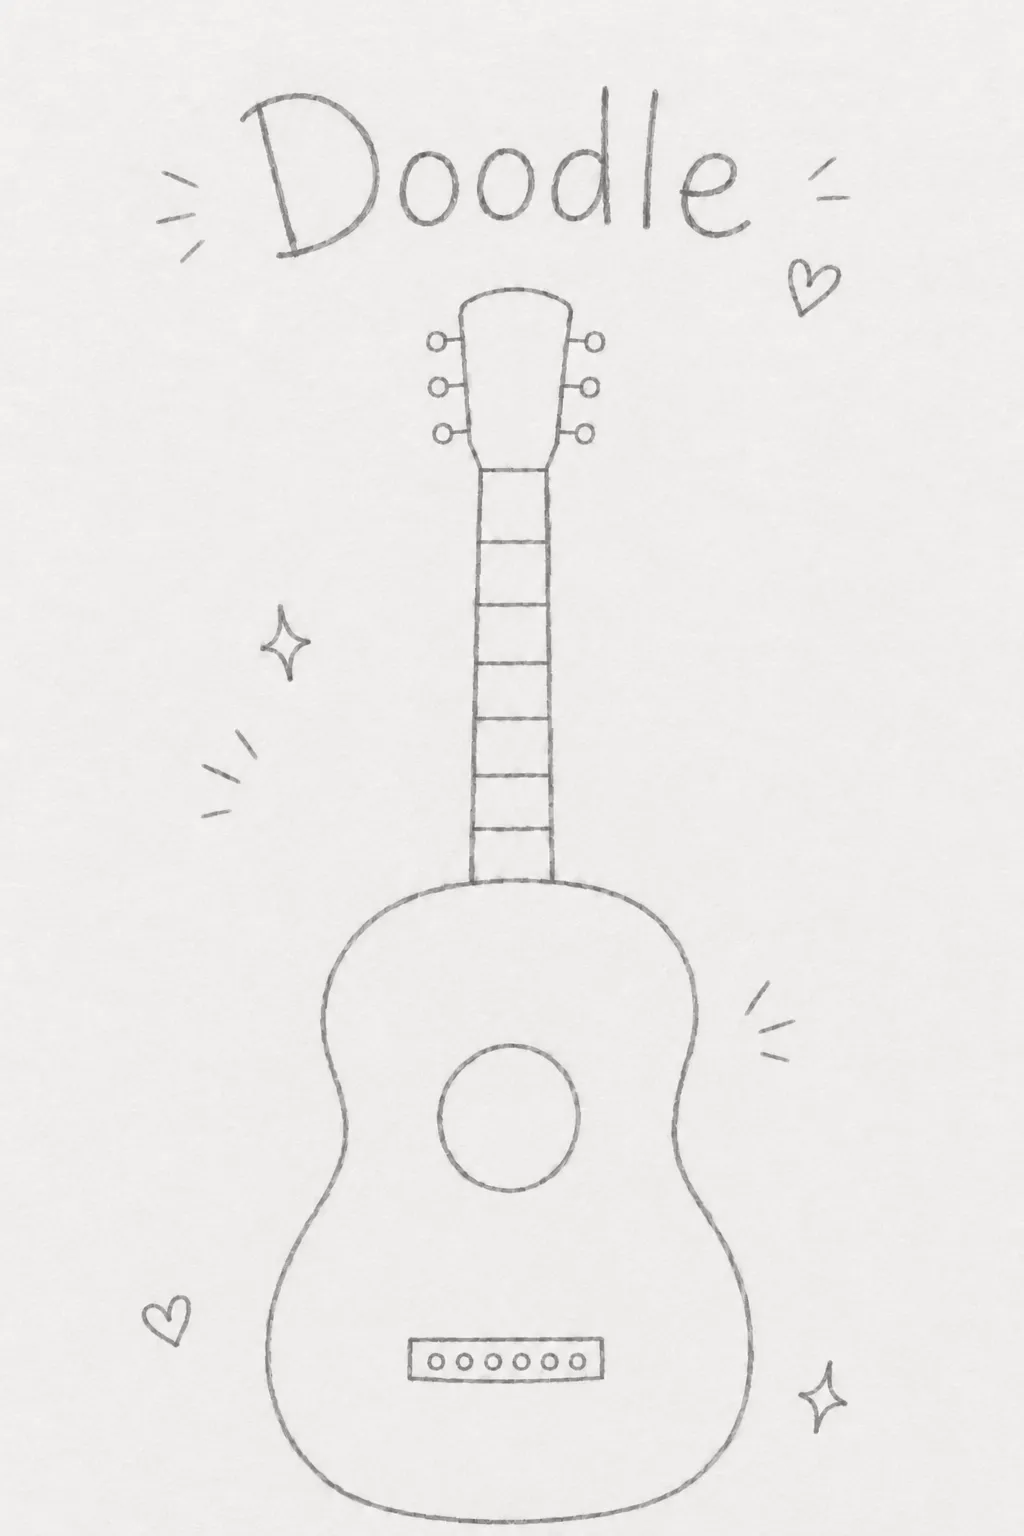
Keep the lines loose and the details simple.
Cartoon
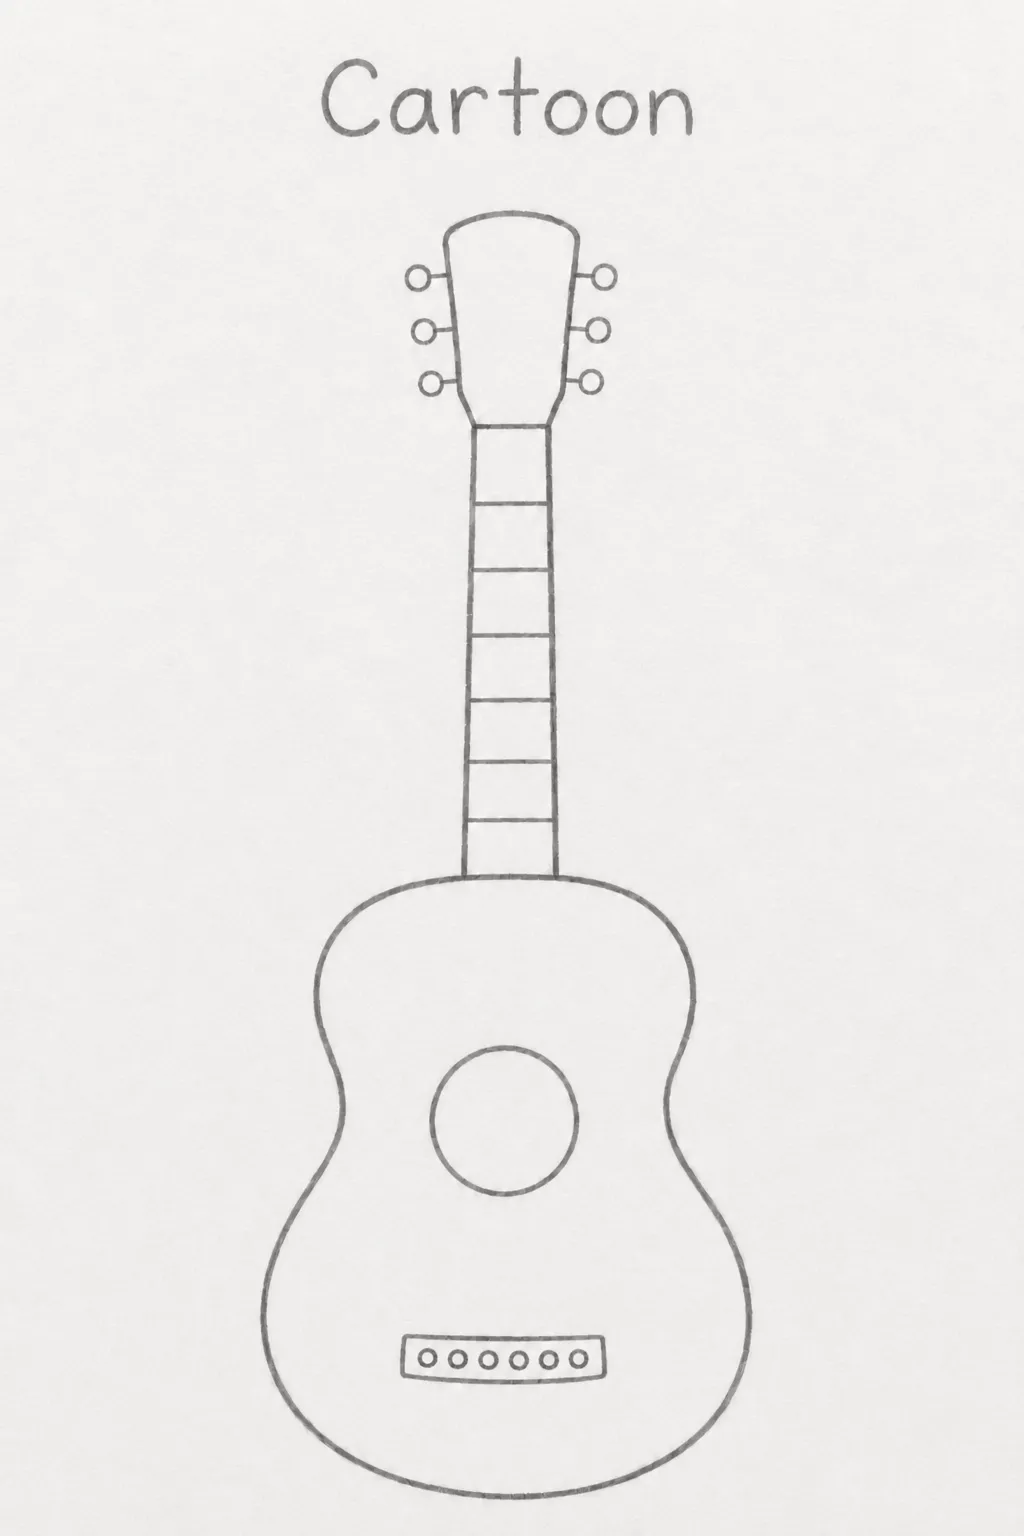
Change the proportions. Make the body bigger, the neck shorter or exaggerate the curves.
Line Art
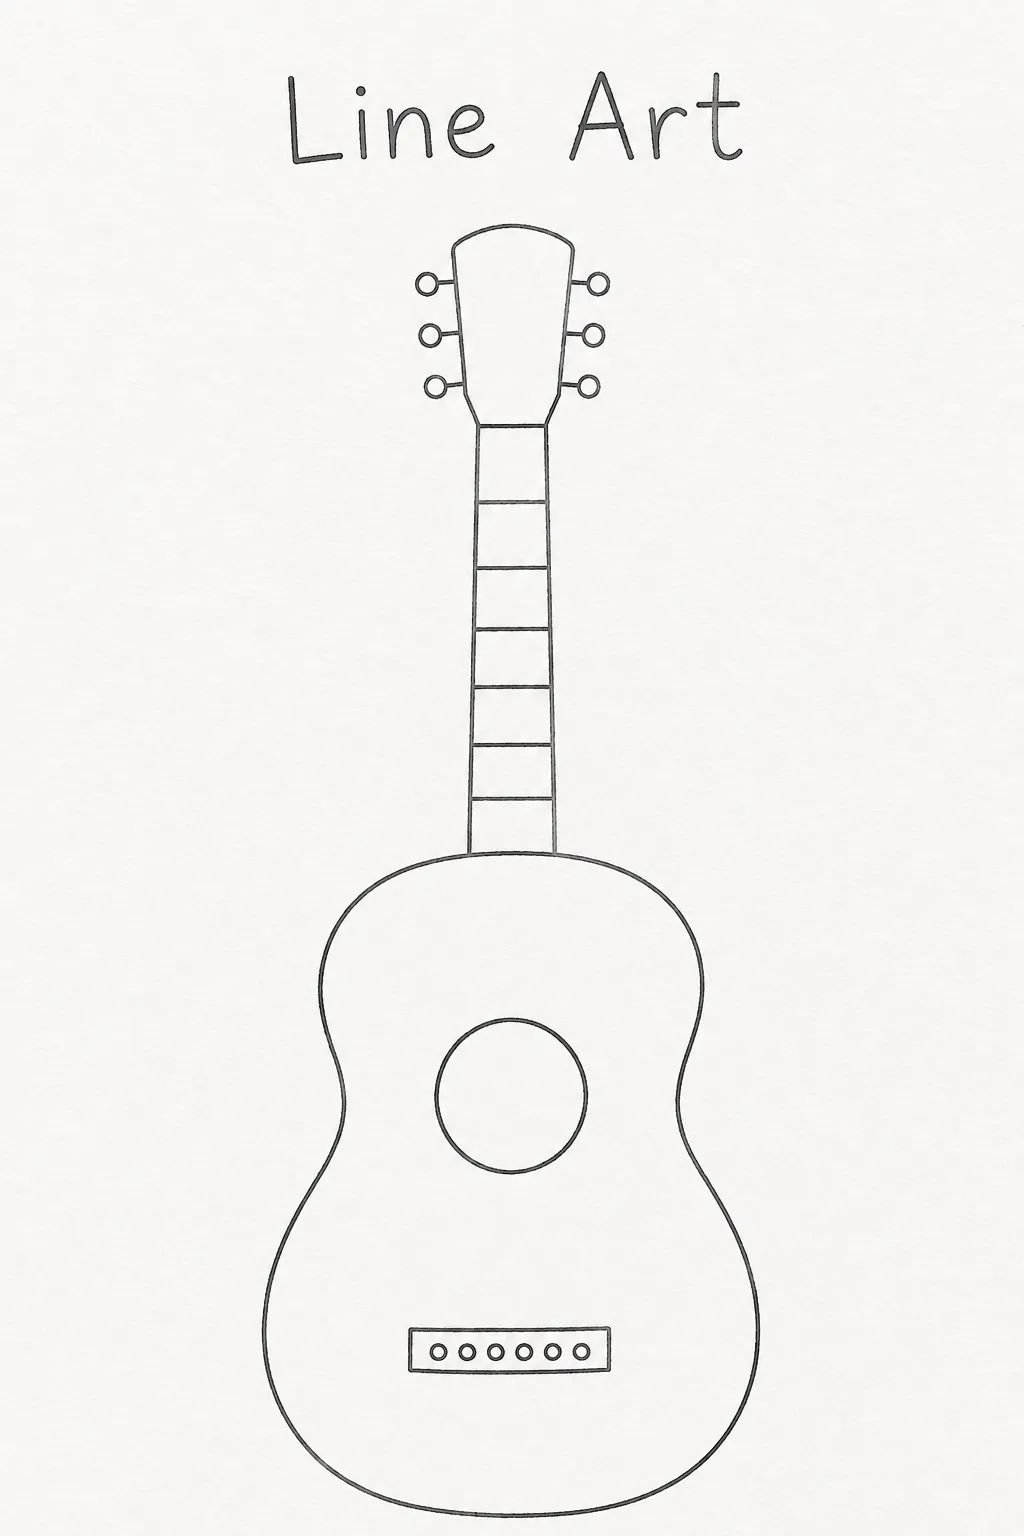
Use a clean outline and remove most of the small details.
Pencil Sketch
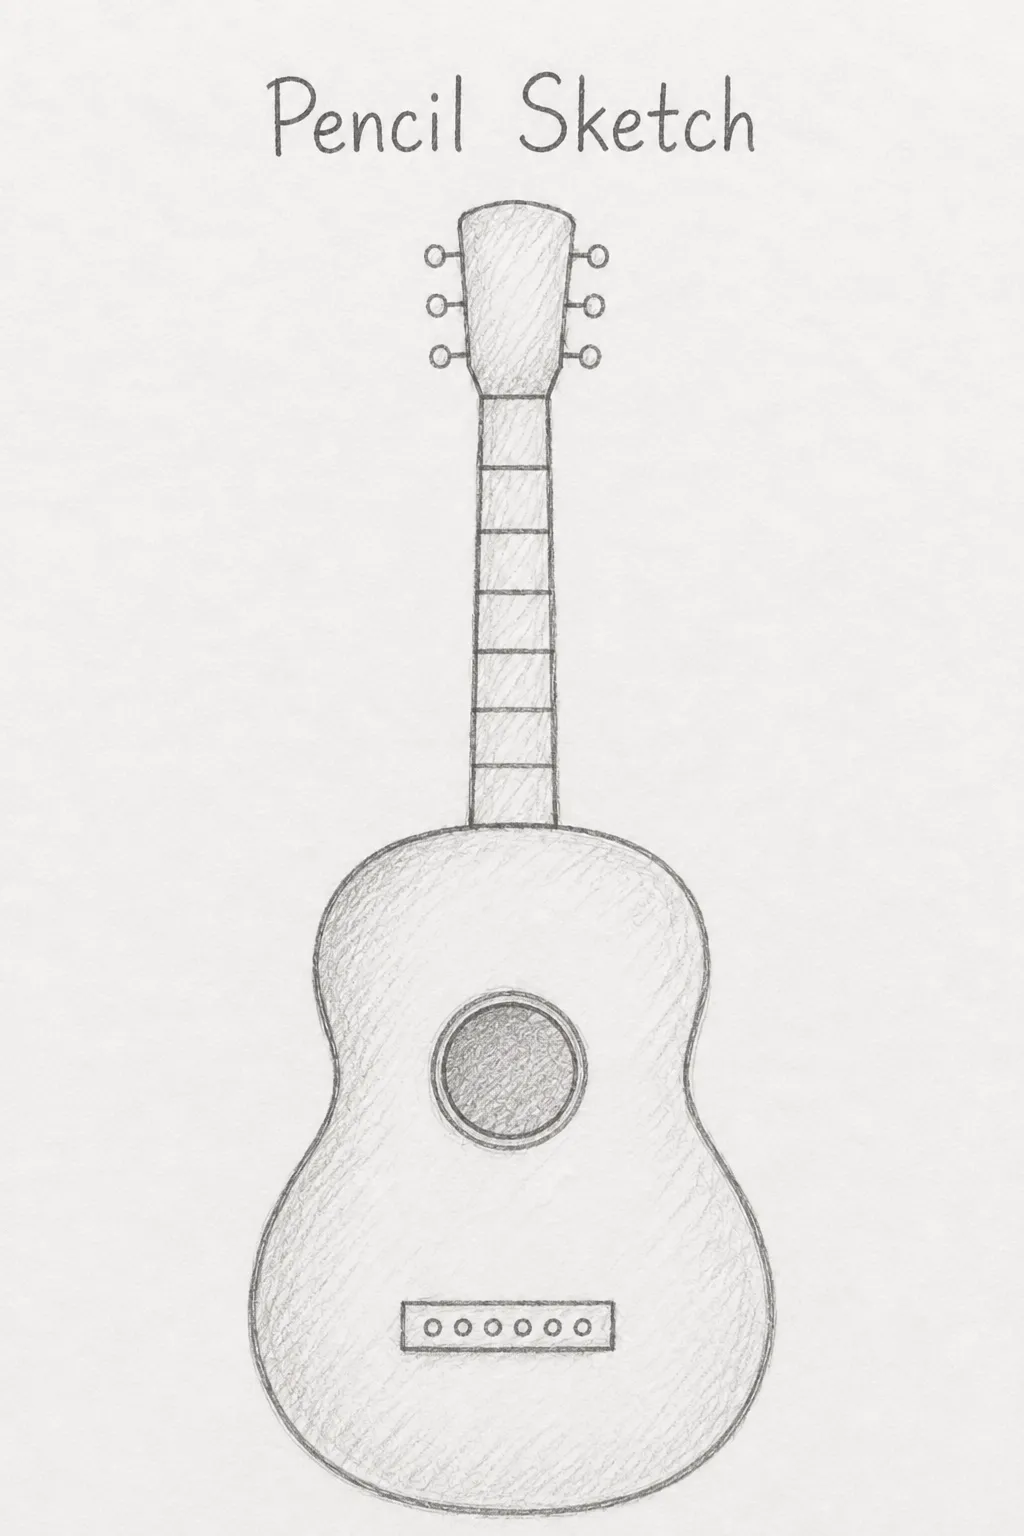
Add a little shading, texture and less-perfect lines.
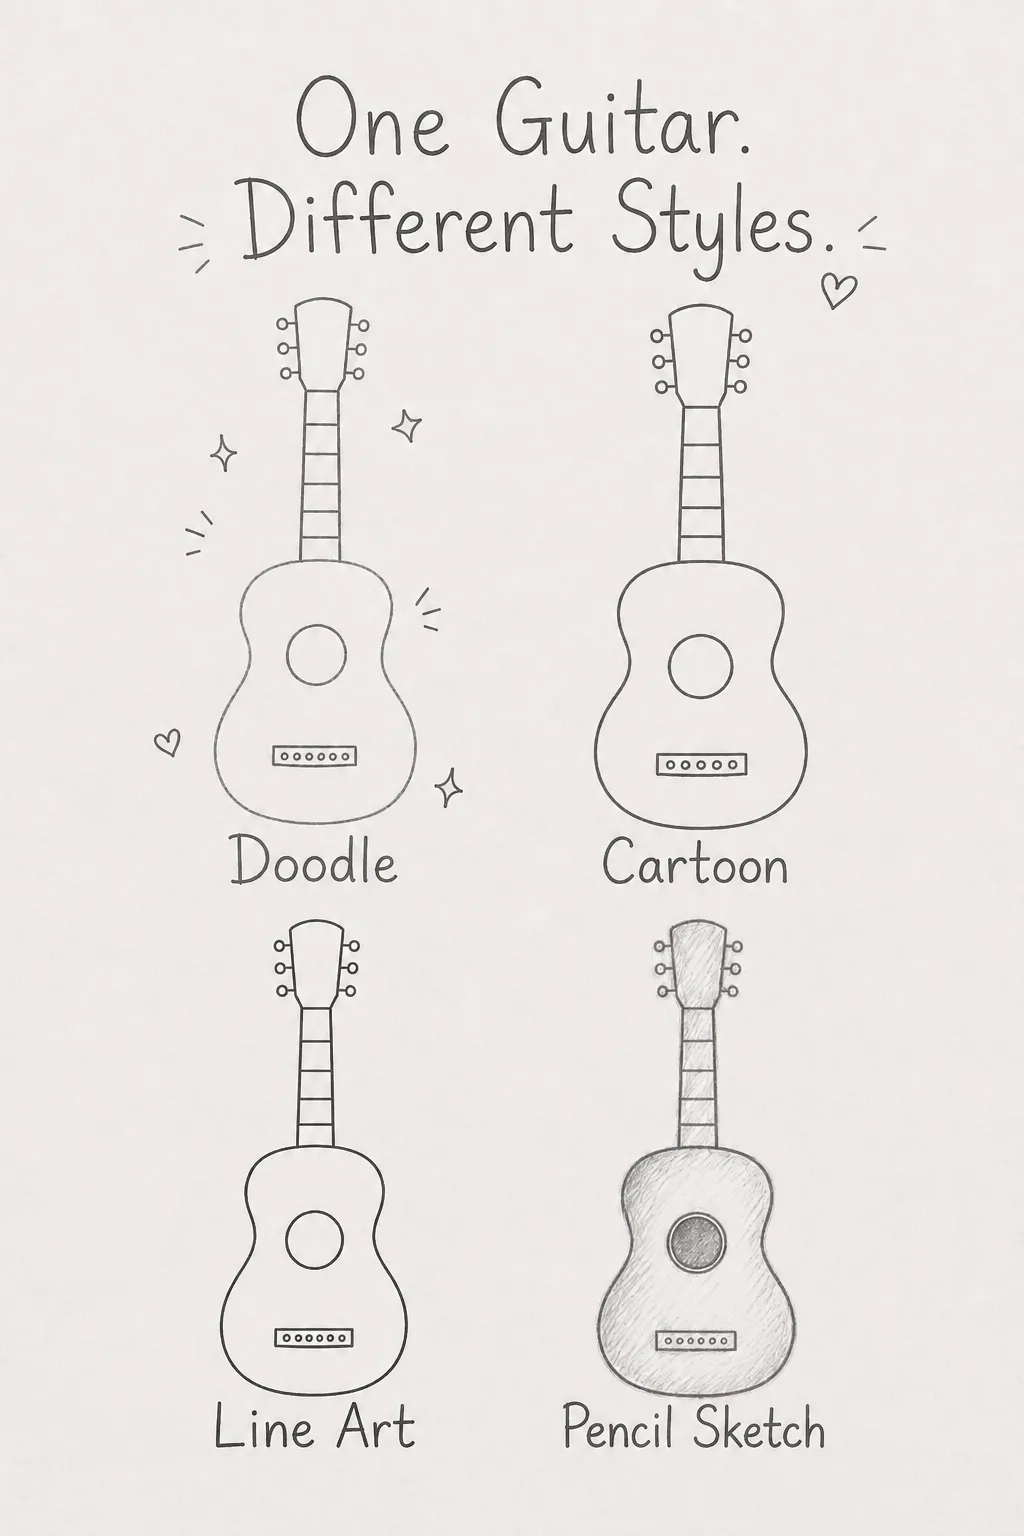
You can also change the body shape, add your own graphics or try drawing the guitar from a different angle.
There is no correct version anymore. That is the point.
Step 5: Test Your Guitar Drawing Level
You made it through the tutorials. Now let’s see what you can draw without them.
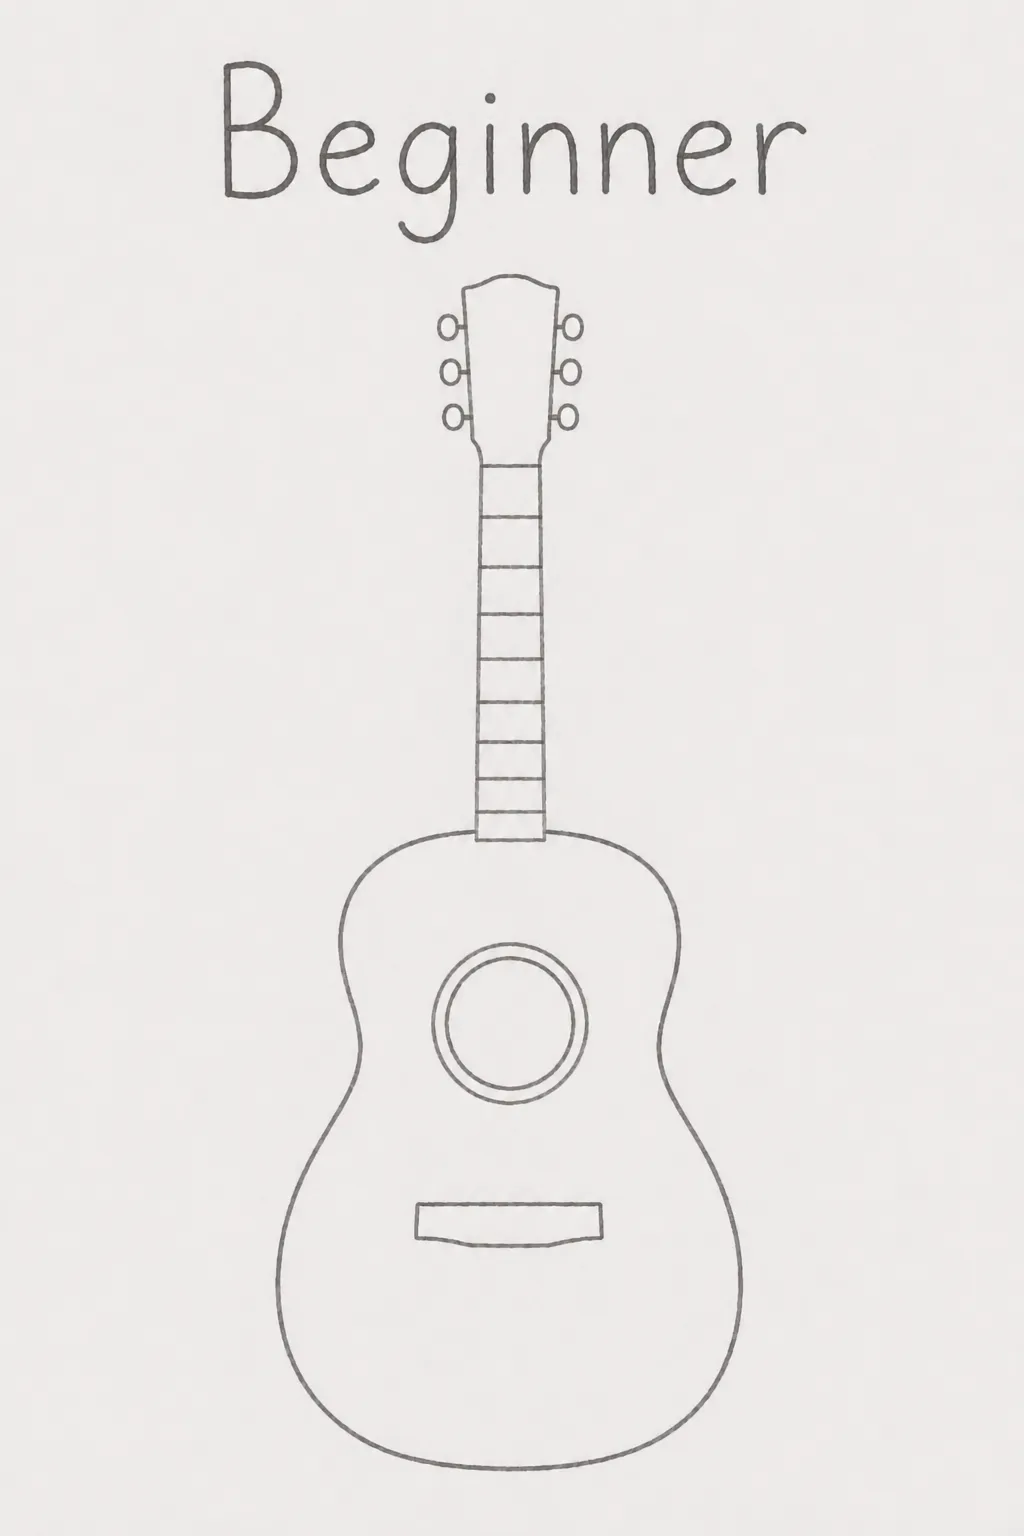
Beginner
Simple shape. Few details. Straight-on view. Can you draw it?
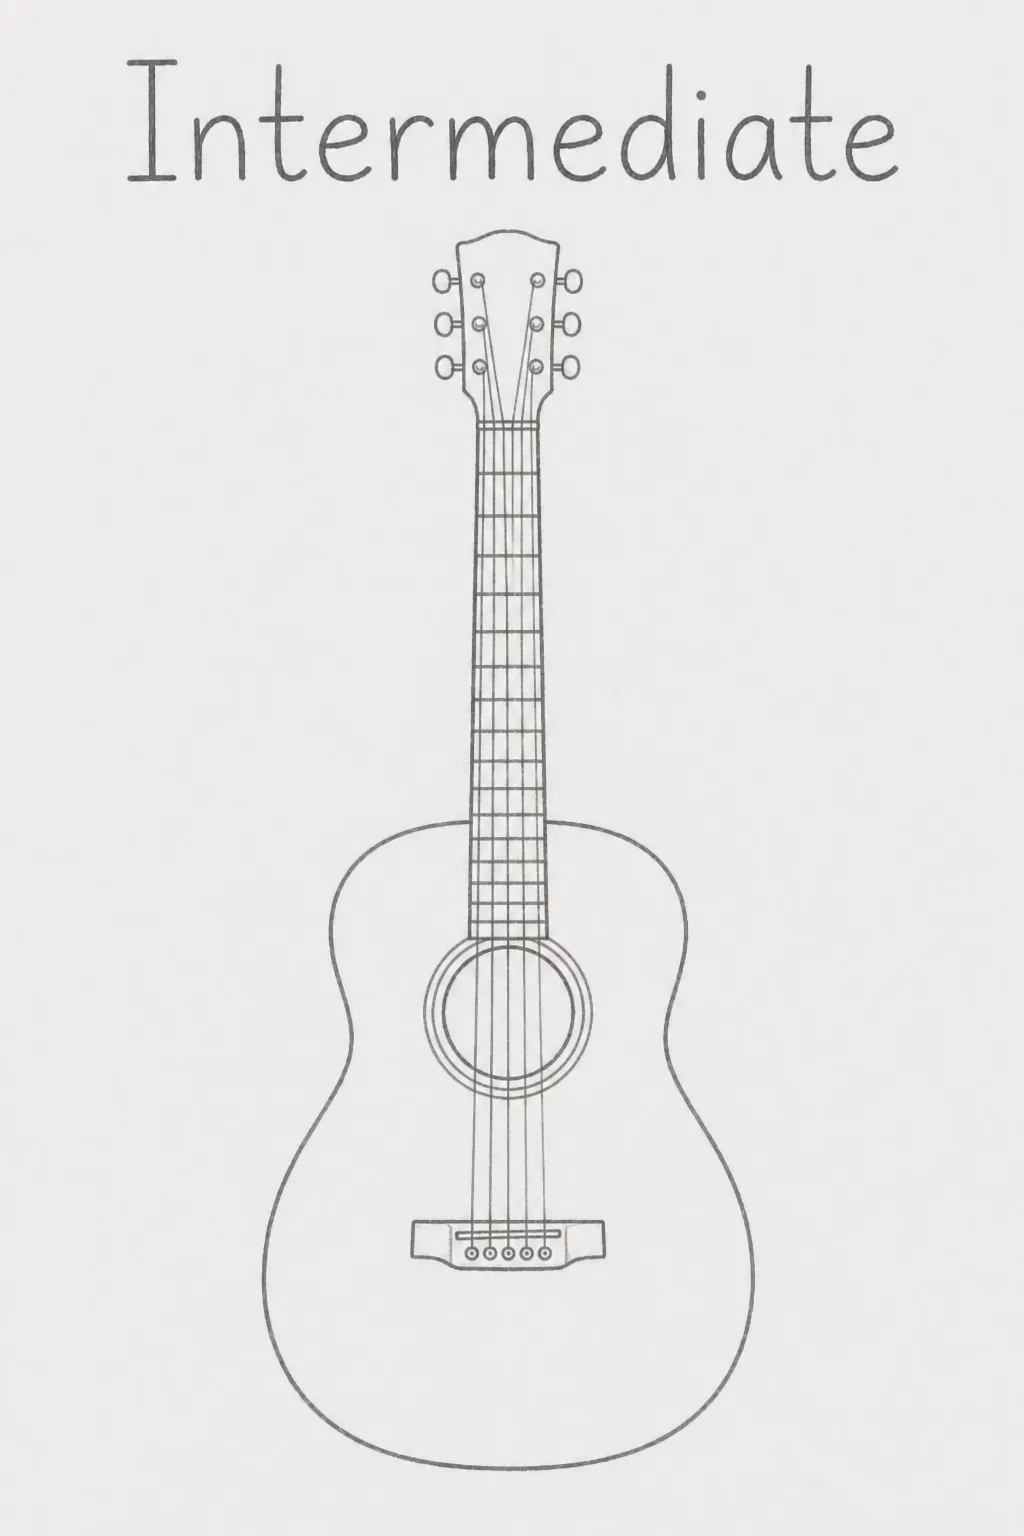
Intermediate
More accurate proportions and a few extra details.
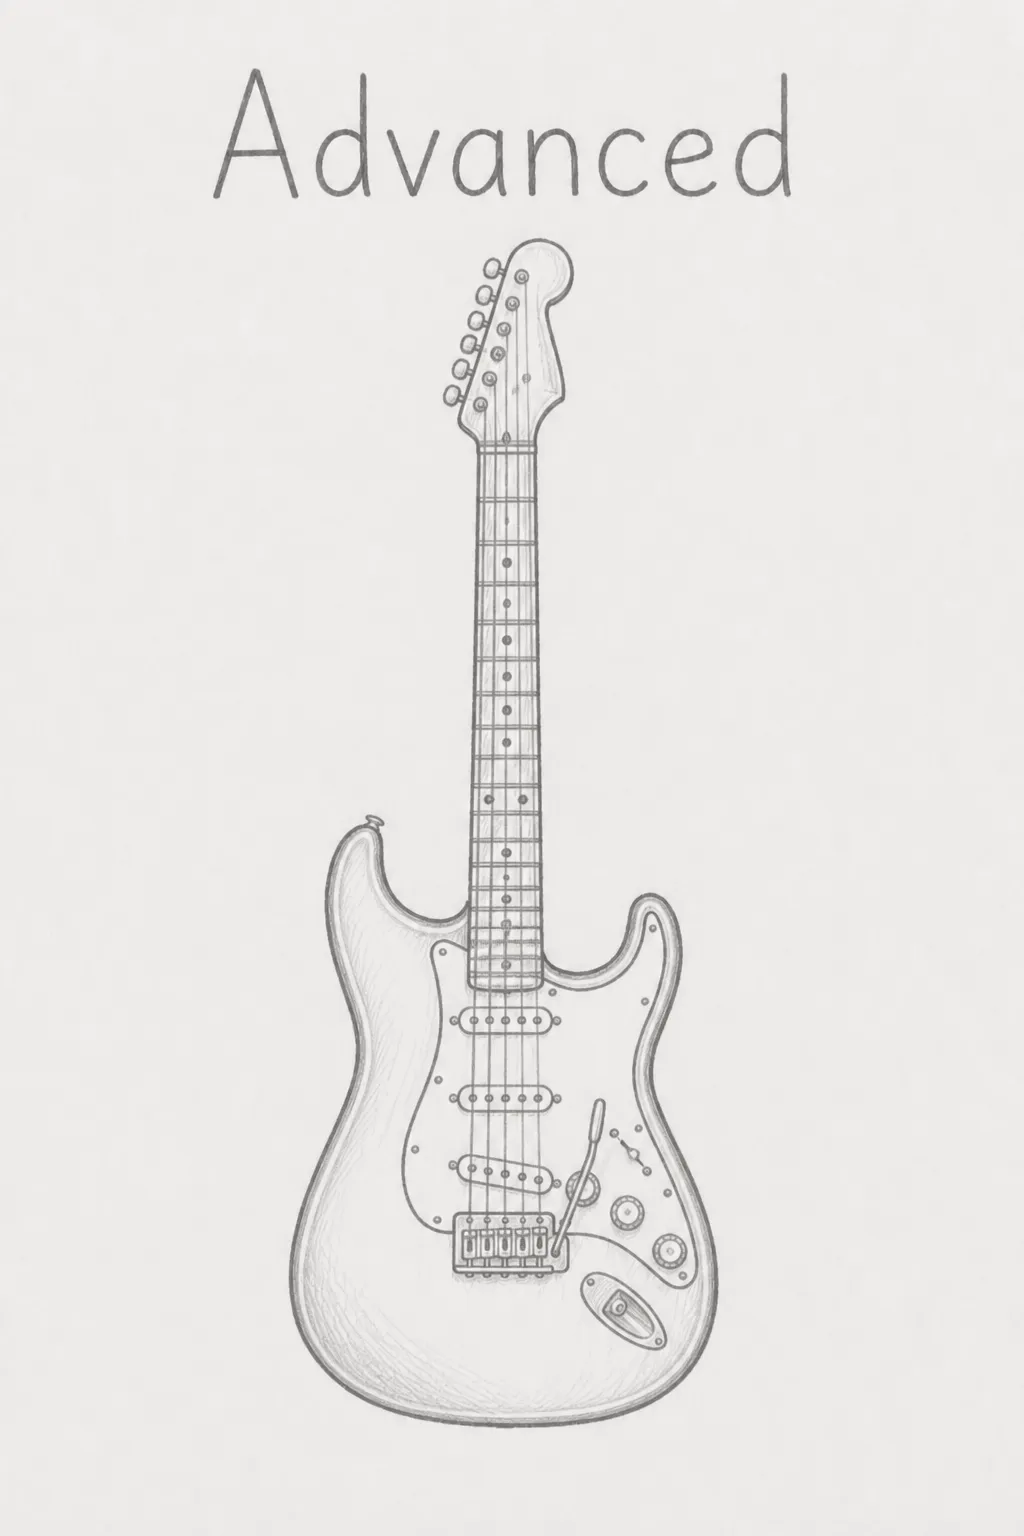
Advanced
More details.
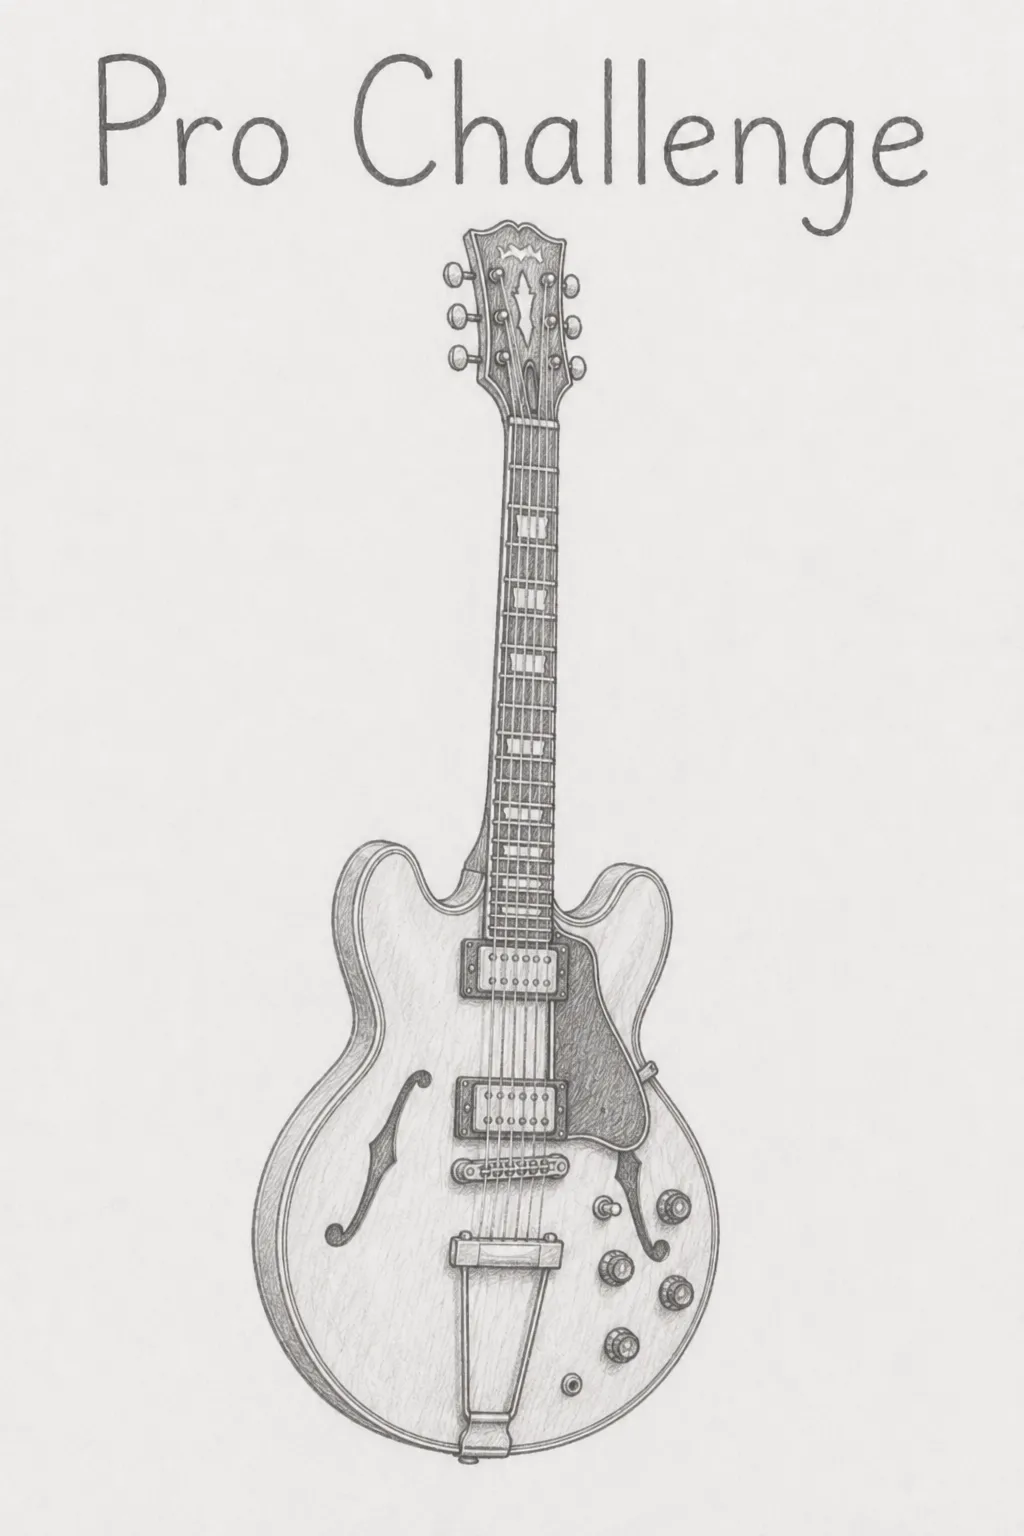
Pro Challenge
No easy shapes this time. Try a detailed guitar and a difficult angle.
How far did you get?